How to Grow Ginger in Pots Indoors: Warmth, Patience, and Two Harvests
Ginger is a tropical perennial grown for its rhizome, the thick underground stem that flavors cooking. It is not a root, and it is not grown from seed. You plant a piece of rhizome with visible buds, keep it warm, and wait. The wait is the whole story. Baby ginger comes from the pot edges after about 4 months. Mature ginger takes 8 to 10 months, and the plant spends most of that time as a tall leafy houseplant. If that timeline sounds fine, ginger is an easy and rewarding pot crop. If you want a quick harvest, this is the wrong plant, and no trick shortens the clock.
One honesty note before you start. No source in the research for this guide calls November the ideal month to start ginger. Outdoor guides start it in spring, when soil warms. Indoors, the month matters less than the warmth, because the pot lives in heated indoor air. A winter start works if the pot stays warm. The payoff still lands 8 to 10 months on. Do not plant ginger expecting a winter harvest.
Garlic runs on the opposite clock. It needs a cold spell to form a proper bulb, and a warm indoor pot grows green tops, not full bulbs. Ginger needs the reverse: steady warmth from start to finish. Our guide to growing garlic in containers covers that cold-season crop.
The 8-10 Month Timeline, Up Front
Buy the wait with open eyes. This table is the whole plan on one screen. The sections below explain each stage.
| When | What you see | What you do |
|---|---|---|
| Before planting | A firm rhizome with swelling buds | Choose stock that already shows life, cut to eyed pieces, and let the cuts callus |
| Weeks 1 to 7 | An empty-looking pot | Keep the pot warm, water lightly, and wait. Shoots often take 3 to 8 weeks, and up to 50 days or more is normal |
| Months 2 to 3 | Green shoots, then leafy stems | Move to bright filtered light, keep the mix moist, and start feeding |
| About month 4 | A leafy plant with rhizomes near the edges | Take small edge pieces for baby ginger, or leave the plant to keep growing |
| Months 5 to 8 | A tall plant, 2 to 4 feet high | Keep it warm and moist, and add mix if rhizomes show at the surface |
| Months 8 to 10 | Foliage yellows and dies back | Dig the whole plant, cure the rhizomes, and store or replant |
Choose a Rhizome That Will Actually Sprout
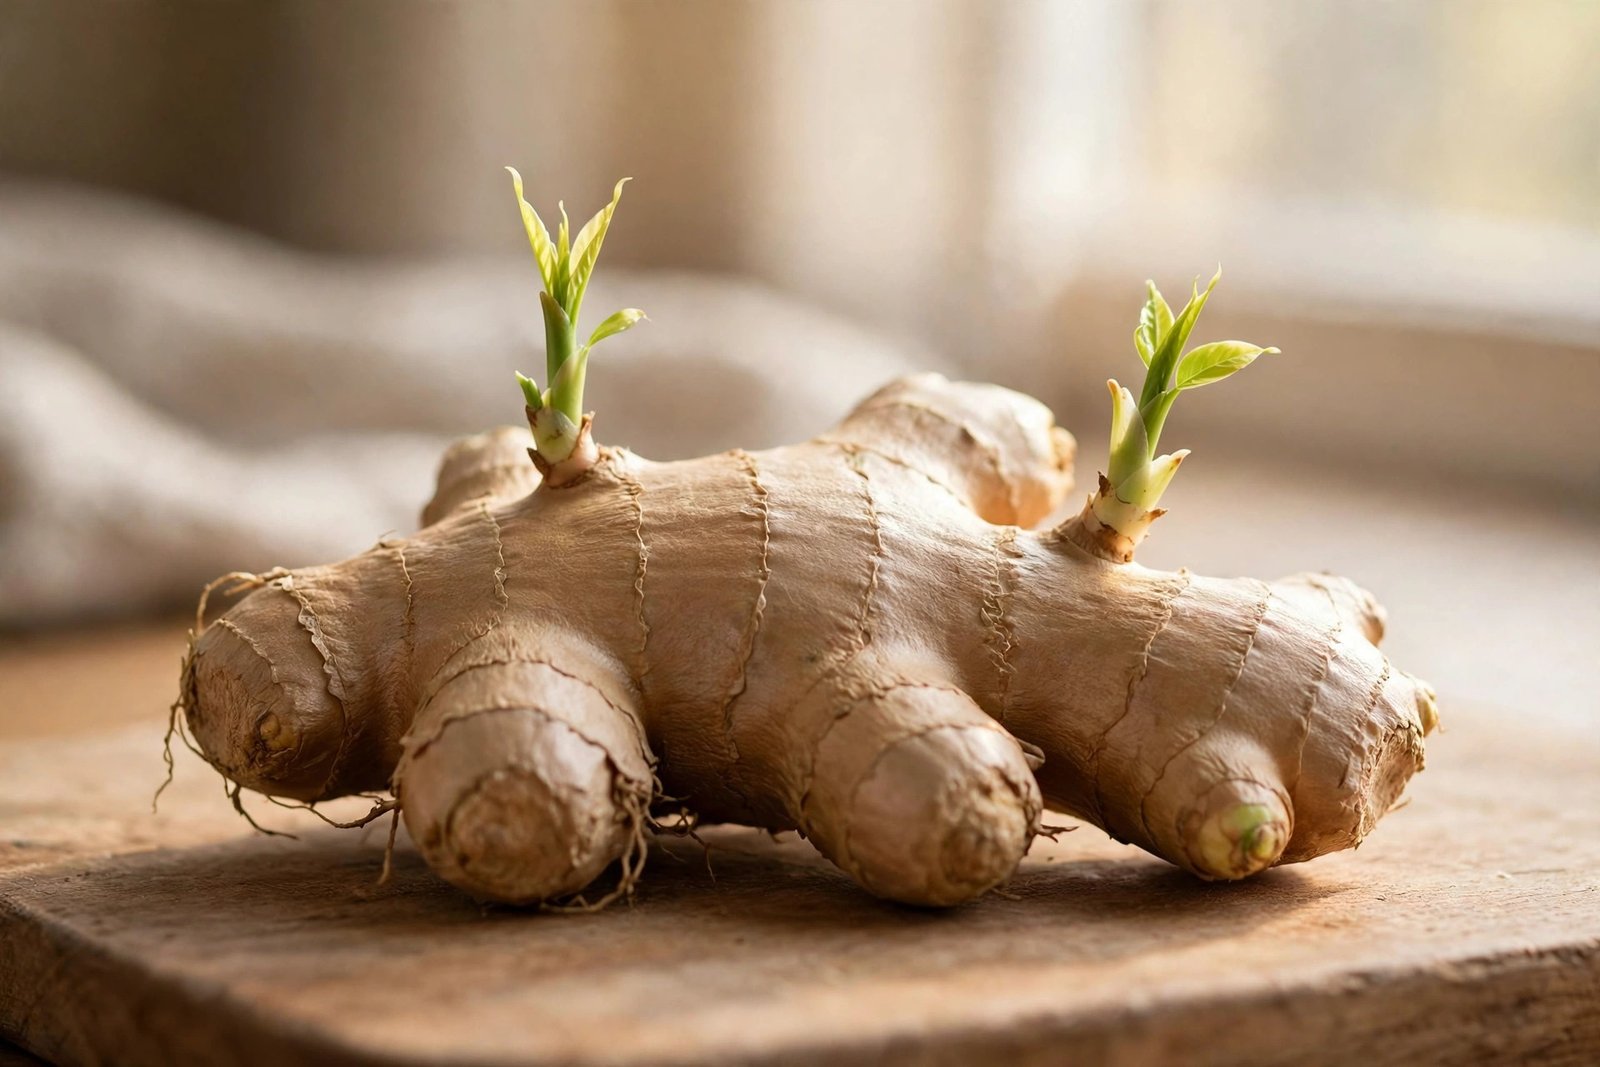
Ginger is not grown from seed. You plant a piece of rhizome, and the piece you choose decides whether anything happens at all. This is the most valuable section in the guide, because a dead piece costs months of waiting for nothing.
Buy from a plant nursery or seed company when you can. Virginia Cooperative Extension’s ginger guide gives that as the first choice for home growing. Grocery store ginger is the easy option, and it often works, but it carries a real risk. Store ginger may have been treated for long storage, and Virginia Tech warns that treated rhizomes may never sprout. Worse, you often cannot tell by asking. The treatment is hard to determine even when you consult the store manager. That warning is the reason to buy organic ginger that was not treated, or rhizomes that already show swelling or sprouted buds. Buds turning green are the best sign of all. Wisconsin Extension says the same: plump pieces with swollen buds, and green buds most likely to grow.
Choose firm, plump pieces with several eyes. Eyes are the small bumps or buds where new shoots start. Avoid pieces that are mushy or carry dark brown spots. A slightly shrinking rhizome is fine if the buds are swelling. That detail comes from Virginia Tech, and it saves good stock from the bin.
Cut the rhizome into pieces 1 to 1.5 inches long, each with at least two eyes. Larger pieces work too. UF/IFAS and Vermont Extension describe pieces 2 to 3 inches long with two or more buds. The rule that matters is the eye count, not the exact length: at least two eyes per piece. Then let the cut ends heal for a couple of days before planting. Healing means the cut surface forms a dry callus. The callus keeps the piece from taking on too much moisture and rotting while it sprouts. Every extension source in this guide agrees on the callus step, and none of them treats it as optional. Georgia Extension says to let cut pieces sit for a few days so they callus, or scab over. Wisconsin says the same: dry for a few days in a warm, dry spot.
The sourcing test. If the rhizome has no visible buds, no swelling, and no green anywhere, do not plant it and hope. Buy another piece that already shows life. A treated piece can sit in warm mix for months and never sprout, and you will not know until the season is gone.
The soak question, with the disagreement shown
Soaking is the most argued-over step in ginger growing, and the sources do not agree on what it does. Georgia Extension says to wash rhizomes thoroughly to remove any growth retardant from shipping. UF/IFAS Extension in Marion County says rhizomes can be soaked for several hours to help stimulate sprouting. Vermont Extension says to soak overnight to rehydrate the rhizome. Wisconsin says rhizomes can be soaked overnight in warm water. Three different reasons: wash off treatment, wake up buds, and rehydrate a dry piece.
None of those sources shows that soaking reverses a treatment that stops sprouting. Virginia Tech’s warning stands beside them: treated ginger may never sprout, and the treatment can be hard to determine. Soaking is not a guaranteed fix for a treated piece. The reliable move is the sourcing test above: buy stock that already shows life.
If you do soak, soak the whole rhizome before you cut it. The cut ends still need their dry callus time after cutting. Wet cuts planted straight into mix are the pieces that rot.
Pot, Warmth, and the Sprout Wait
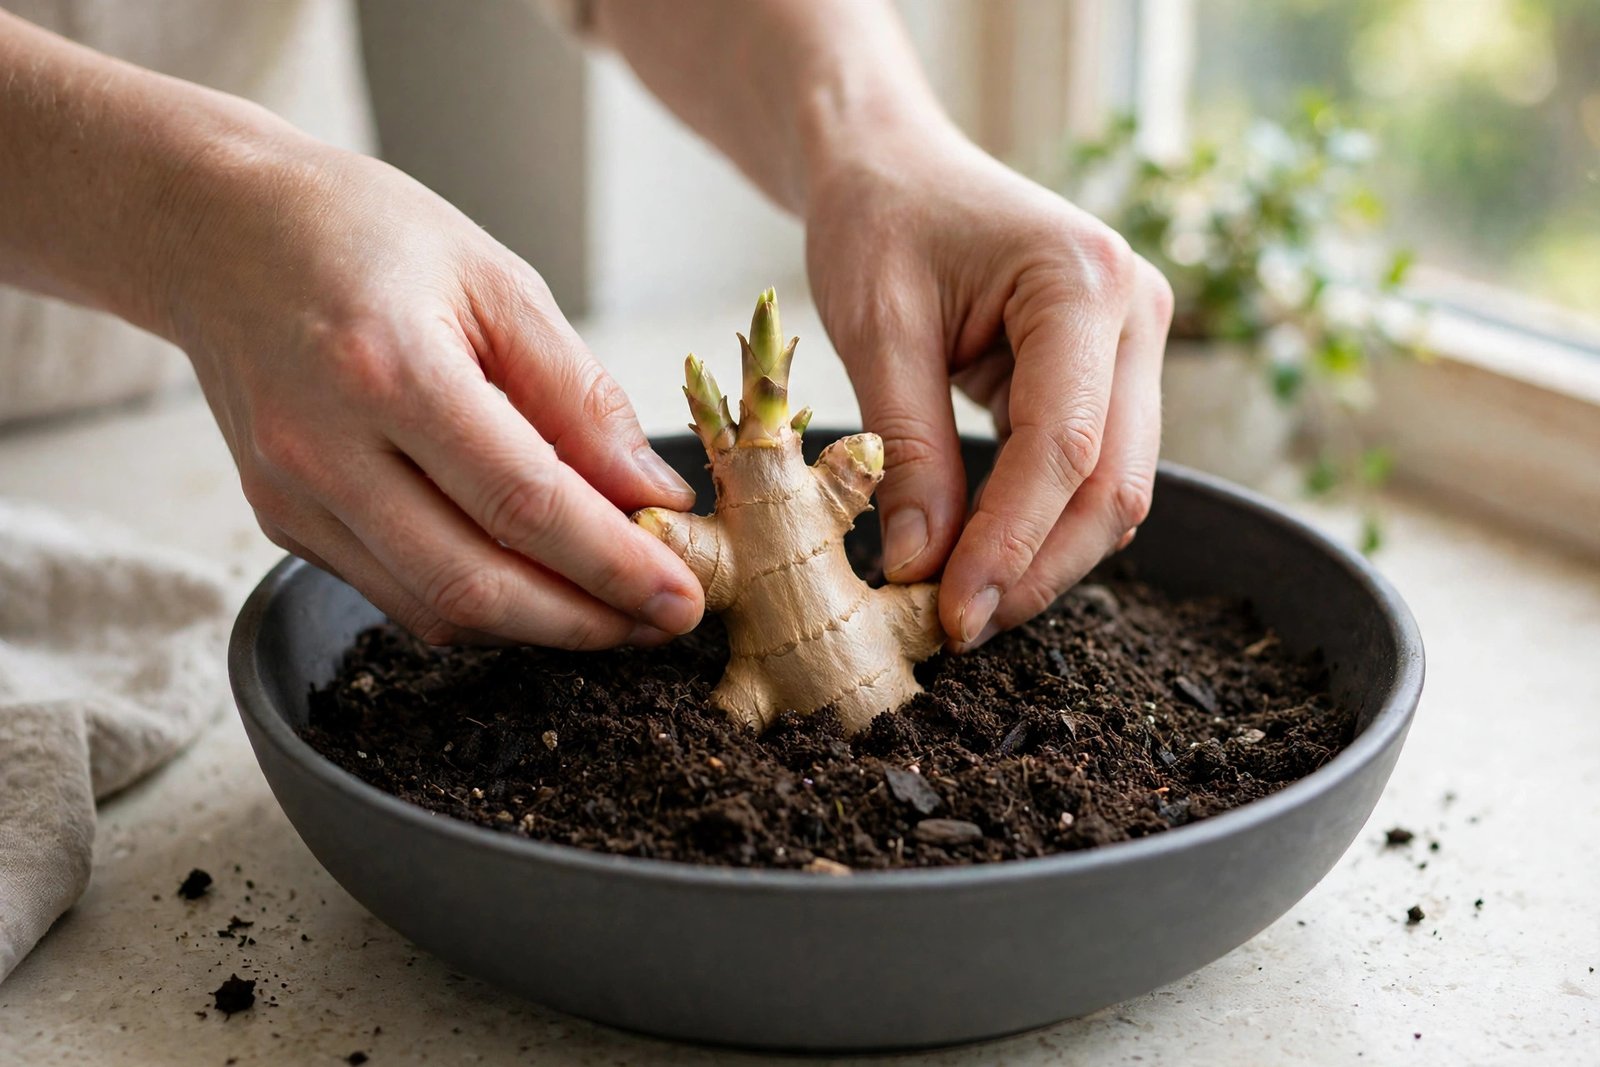
Ginger grows sideways. The rhizome spreads horizontally just under the surface, so width beats depth. This is the direct inverse of a deep-rooted pot crop. Use a pot at least 12 inches wide, with a drainage hole. Virginia Tech calls for a 12 inch or larger container for a single rhizome piece, and both Vermont guides say the same. A wider pot holds more pieces. Wisconsin notes that a 14 inch pot easily holds three average rhizomes, and the plants do not mind crowding.
Depth is the figure the sources argue about, so here it is with the labels on. For pots, the sources cluster at shallow cover. Wisconsin says about an inch deep. Vermont says 1 to 2 inches of cover. UF/IFAS puts rhizomes at about 2 inches deep. Marion County says no more than 2 inches. Georgia Extension allows 2 to 4 inches in a pot. The deepest figure, 4 to 6 inches, comes from Virginia Tech, and it describes garden beds, not pots. This guide uses 1 to 2 inches of cover, the figure the pot sources agree on. The roots run shallow: UF/IFAS notes that 8 inches of potting mix is adequate depth, so a wide shallow pot is not a compromise. It is the right shape.
Fill the pot with a rich, loose, well-drained mix. That sentence plus one link is the whole soil section: our soil mix guide for vegetables in pots covers the recipe. Set each piece flat with the eyes pointing up, cover with 1 to 2 inches of mix, and water lightly.
Warmth does the work now. Ginger sprouts between 60 and 86 degrees Fahrenheit, and Virginia Tech puts the best range at 70 to 78. UF/IFAS pre-sprouts at about 82 degrees and warns against going above 86. Put the pot in the warmest spot you have, and use a heat mat under the pot if the room runs cool. Vermont Extension suggests exactly that, and says to take the pot off the mat once sprouts show.
The sprout wait is the hard part. The rhizome needs neither water nor light to sprout, so the pot looks empty for weeks. Green buds can send up shoots in about a week. Most waits run 3 to 8 weeks. Virginia Tech says it can take up to 50 days or more. UF/IFAS puts pre-sprouting at 1 to 2 months. The range is real, and it comes down to bud state and soil warmth. A piece with green buds in warm mix moves fast. A dormant piece in a cool room takes the long end of the range. Do not average these numbers into a promise. Plan for the long end, and treat anything faster as a bonus.
While you wait, water lightly. The mix should stay lightly moist, never wet. Too much moisture rots the rhizome before it sprouts. Virginia Tech says to let the media dry slightly before watering. If you started in a small pot, that advice matters more. Virginia Tech describes starting in a 6 inch pot indoors and moving to warmth and light once green tips show. A small warm pot is easier to keep evenly moist than a large cool one.
How do you tell a live rhizome from a rotted one without digging it up every week? You mostly wait. A healthy piece stays firm. A rotted piece turns soft and mushy. If you must check, brush the mix aside gently at one edge, feel whether the piece is still firm, and cover it again. Do not pull it out. The new roots and shoots are fragile, and weekly digging breaks them.
Light: bright and filtered, never harsh
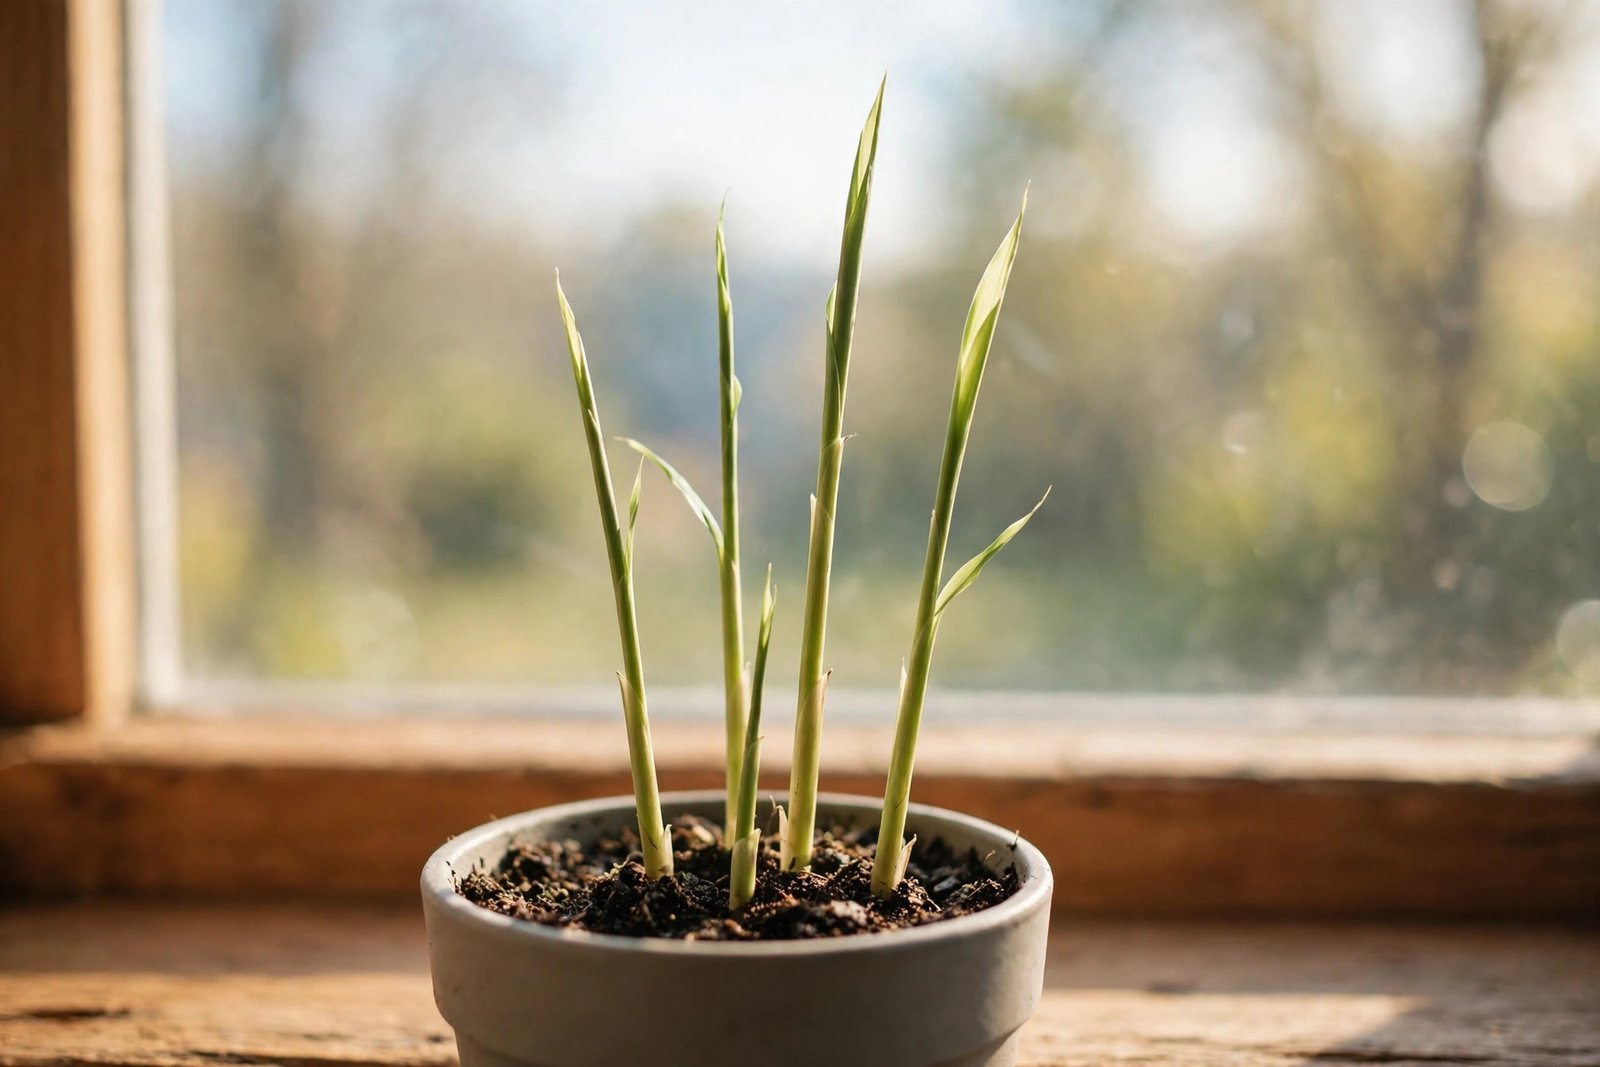
Ginger is shade tolerant. Virginia Tech says to grow it in partial sun and to avoid late afternoon direct sunlight, which can brown the leaf tips. Georgia Extension calls for bright shade. Vermont says a warm spot near a window, away from direct sunlight. The indoor rule is simple: a bright window with filtered light, out of harsh direct sun. Once shoots show, move the pot to your brightest filtered spot. If your windows run dim in winter, our indoor vegetable growing guide covers how to judge the light you actually have.
Humidity helps. The guides describe warm humid air without putting a number on it, and this guide does the same. If your indoor air runs dry in winter, mist the plant often, as Vermont Extension suggests, or keep the pot in a humid room.
Growing On: Moisture, Food, and the Tall Leafy Plant
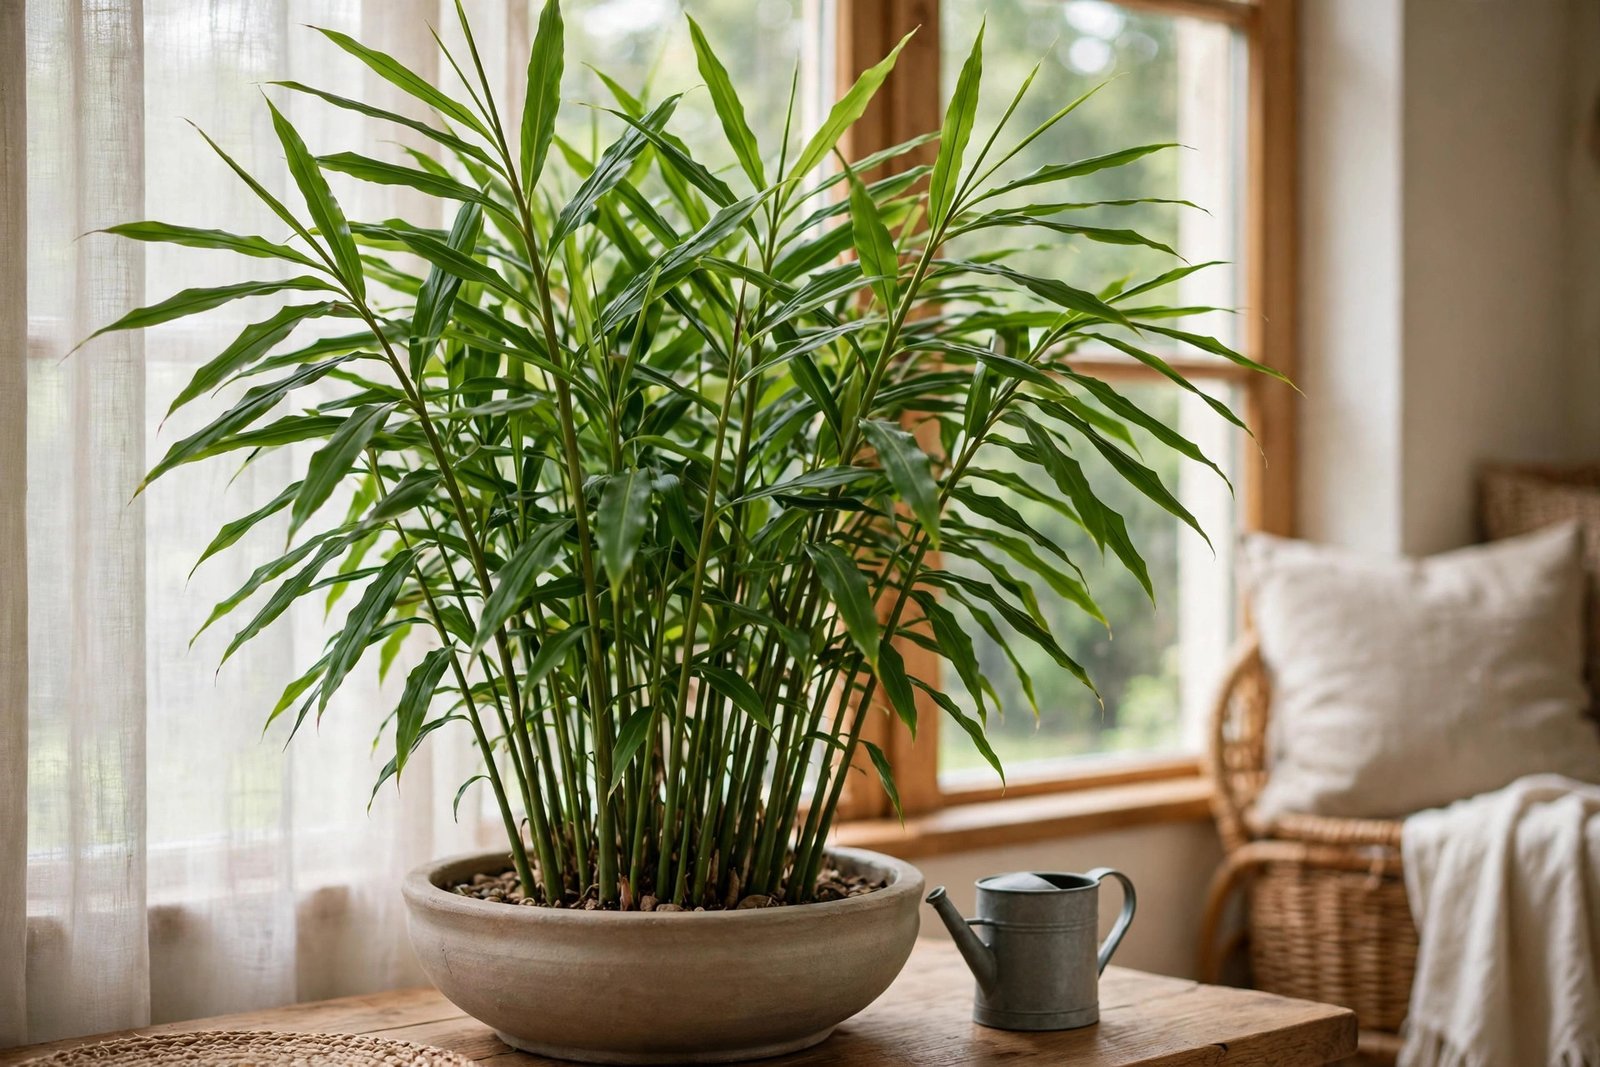
Once shoots show, the plant wants steady moisture without sogginess. Keep the mix evenly moist. Water before it dries out, and never let the pot sit in water. Ginger has no significant insect or disease problem indoors other than root rot from overwatering or poor drainage. Virginia Tech says that plainly, and Wisconsin agrees for the Midwest. If the plant fails, water is the first suspect, not pests.
Feed lightly and steadily. Virginia Tech recommends a slow-release fertilizer or compost at planting, plus a general-purpose liquid fertilizer every few weeks, especially in containers. That is the whole feeding plan. No rates are printed here, because the published rates come from field and Florida container production and do not transfer to an indoor pot. If you want the full timing for container feeding, our fertilizer guide for container vegetables covers when and how much.
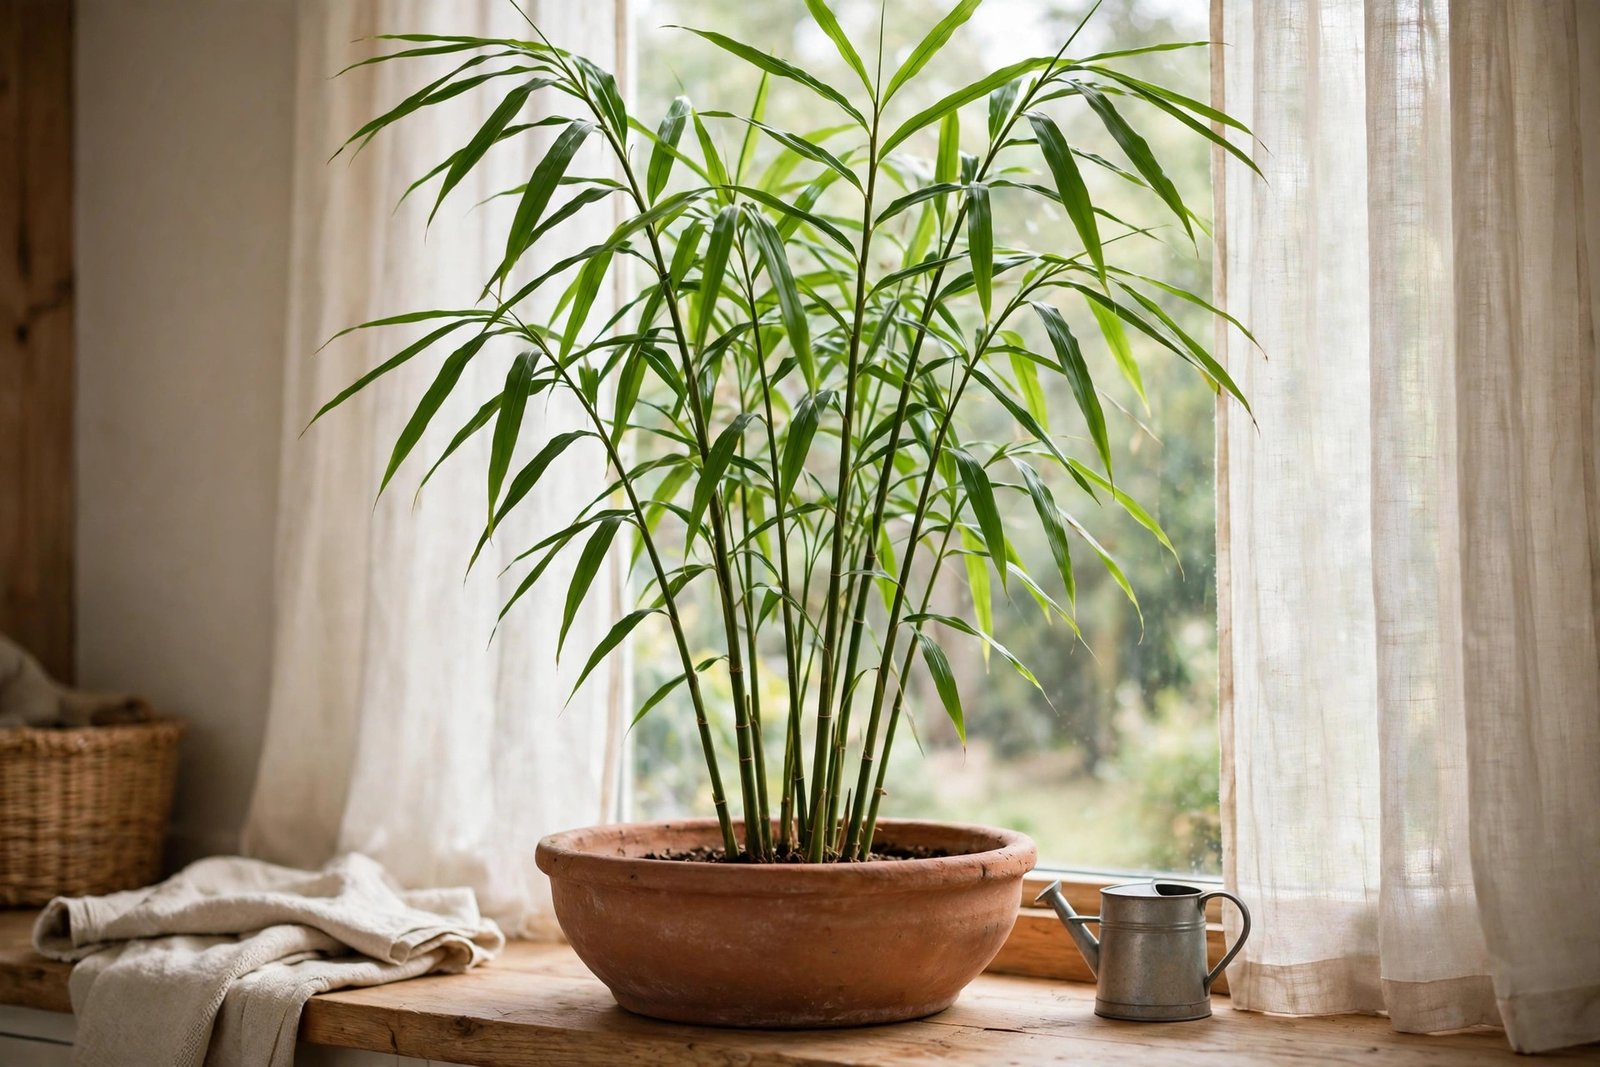
Expect a tall plant. Height figures differ across the sources, so plan for the range. Vermont puts ginger at 2 to 3 feet, Georgia at about 3 feet, Wisconsin at 3 to 4 feet, and Marion County at about 4 feet. The Almanac gives 2 to 4 feet. Virginia Tech notes plants can reach 5 feet. Indoors, 2 to 4 feet is the honest expectation, and the plant earns its floor space for months before it earns its harvest. The stems are pseudostems, leaf sheaths wrapped around each other, and they spread into a clump if the plant is not harvested. Flowers are rare on container plants, and ginger grown this way needs no pollination. There is no fruit to set and no flower to tend. Warmth and moisture are the whole job.
Mounding gets one paragraph. Ginger rhizomes can grow upward and show at the surface. When they do, add mix over them. Virginia Tech describes mounding 1 to 3 times in a season, whenever rhizomes become visible. Potatoes get the same treatment under a different name, and our guide to growing potatoes in containers covers hilling in full. For ginger, treat it as a fix when rhizomes show, not a scheduled routine. Florida researchers did not find mounding helpful in their shorter season, and Wisconsin calls hilling not required. Cover what shows, and leave the rest alone.
Two Harvests From One Pot
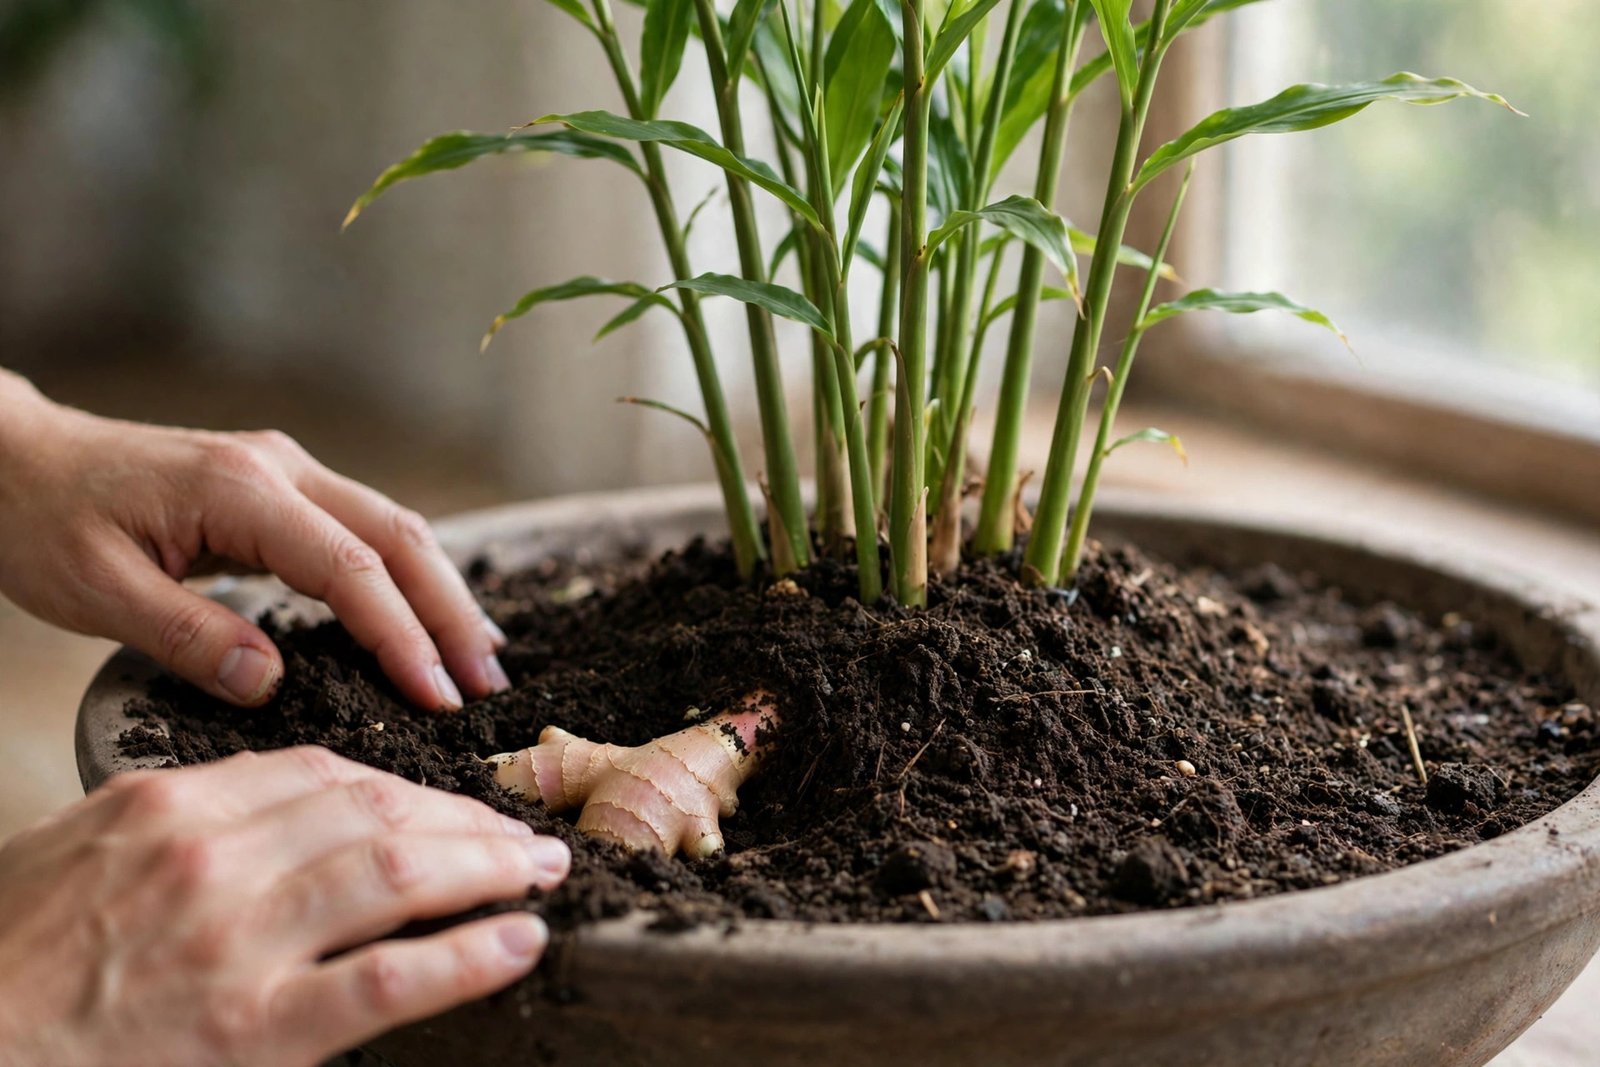
Ginger pays twice. The first harvest is baby ginger, taken from the pot edges while the plant keeps growing. The second is the full mature harvest, when the foliage dies back. Both come from the same pot. Neither is a bonus. They are the plan.
Baby ginger: from about 4 months
From about 4 months on, feel near the edges of the pot for new rhizomes under the surface. Cut a small piece, fill the gap with mix, and let the plant keep growing. The Almanac describes exactly this: small amounts from the outside edges after about 4 months, with the cut end covered and the main plant left to continue. Wisconsin puts baby or green ginger at about 4 months too. UF/IFAS puts fresh baby ginger at 5 months in Florida production. The honest window is 4 to 5 months, and the edges-first method is what makes it possible without ending the plant.
Baby ginger has no thick skin, so peeling is not needed. Virginia Tech says that plainly. The flesh is juicy and mild, and it bruises easily, so handle edge pieces gently. Take little and often, and leave most of the plant to build the mature harvest.
Mature ginger: 8 to 10 months, at die-back
Mature ginger is ready when the foliage yellows and dies back, at 8 to 10 months. Virginia Tech, Georgia, Vermont, and Wisconsin all land on 8 to 10 months for a warm-kept container plant. Marion County says at least 9 months, which sits inside the same window. Do not dig early and hope. The rhizomes enlarge as the tops fade, and an early dig gives thin immature pieces.
Dig the whole plant carefully. The rhizome sits shallow, so work from the edges and lift the cluster out. Cut the stems off, and divide the cluster into hands. Throw away the original mother rhizome if it has rotted, but keep it if it is intact. Virginia Tech notes that seed ginger is spicier and edible. Handle the fresh rhizomes gently. The skin is thin and easily damaged, and damage leads to spoilage.
Then cure. Curing means letting the cuts heal and the skin toughen before storage, and the two extension figures disagree. Virginia Tech says to air-dry for 1 to 2 weeks, until cuts and bruises callus over and the mix dries on the rhizomes. UF/IFAS Extension’s ginger production guide says curing for 3 to 5 days under ambient conditions toughens the skin and reduces weight loss. Both describe the same job. This guide follows the longer Virginia Tech window for a home harvest, since it is written for home growers. When the mix is dry, brush it off gently by hand or with a soft brush.
Store fresh ginger unpeeled in the refrigerator for up to 3 weeks, or in the freezer for up to 6 months. Those are Virginia Tech’s home storage figures. Vermont Extension allows up to 3 months in the refrigerator for a whole uncut rhizome, so an uncut piece keeps longer than a cut one. For pieces you plan to replant, store them differently: clean rhizomes in a brown paper bag in a cool, relatively dry spot at 55 to 60 degrees Fahrenheit. Virginia Tech and UF/IFAS agree on that temperature range. Do not refrigerate rhizomes meant for replanting. Wisconsin says that plainly.
The pot can also carry over. Virginia Tech describes an alternative: harvest edge pieces as the plant begins to go dormant in fall, keep the container above 55 degrees, remove the foliage, and resume watering when the rhizomes sprout in spring. Wisconsin describes the same carry-over: store the rhizomes in the soil in the container over winter, water nothing while the pot is leafless, and growth resumes in spring if the pot stays warm and bright. Either way, the pot is a multi-year plant if you let it rest and wake on its own schedule.
When Something Looks Wrong
Trace each problem to warmth, water, light, or stock, in that order. Most ginger trouble is one of the first two.
| What you see | Likely cause | What to do |
|---|---|---|
| No shoots after 6 weeks | Cool pot, dormant stock, or a treated piece | Check warmth first: sprouting runs best at 70 to 78 degrees. Wait the full 50 days or more before calling it dead. Feel the piece once, gently, at the pot edge. Firm means alive. Mushy means it rotted. |
| Soft or mushy rhizome | Too much water, poor drainage, or cuts planted before callusing | Discard rotten pieces and do not reuse the mix. Next time, callus every cut and keep the mix lightly moist, never wet. |
| Brown leaf tips | Too much direct sun, or dry soil and dry air | Move the pot out of late afternoon sun. Keep the mix moist and mist if the air is dry. |
| Yellowing before die-back | Water trouble in either direction, or root damage | Check moisture before anything else. Yellowing with curling and wilting means discard the plant. Yellowing at 8 to 10 months with fading tops is the harvest signal, not a problem. |
| Weak stretched growth | Too little light | Move to a brighter filtered spot near a window. Ginger tolerates shade, but partial sun grows the stronger plant. |
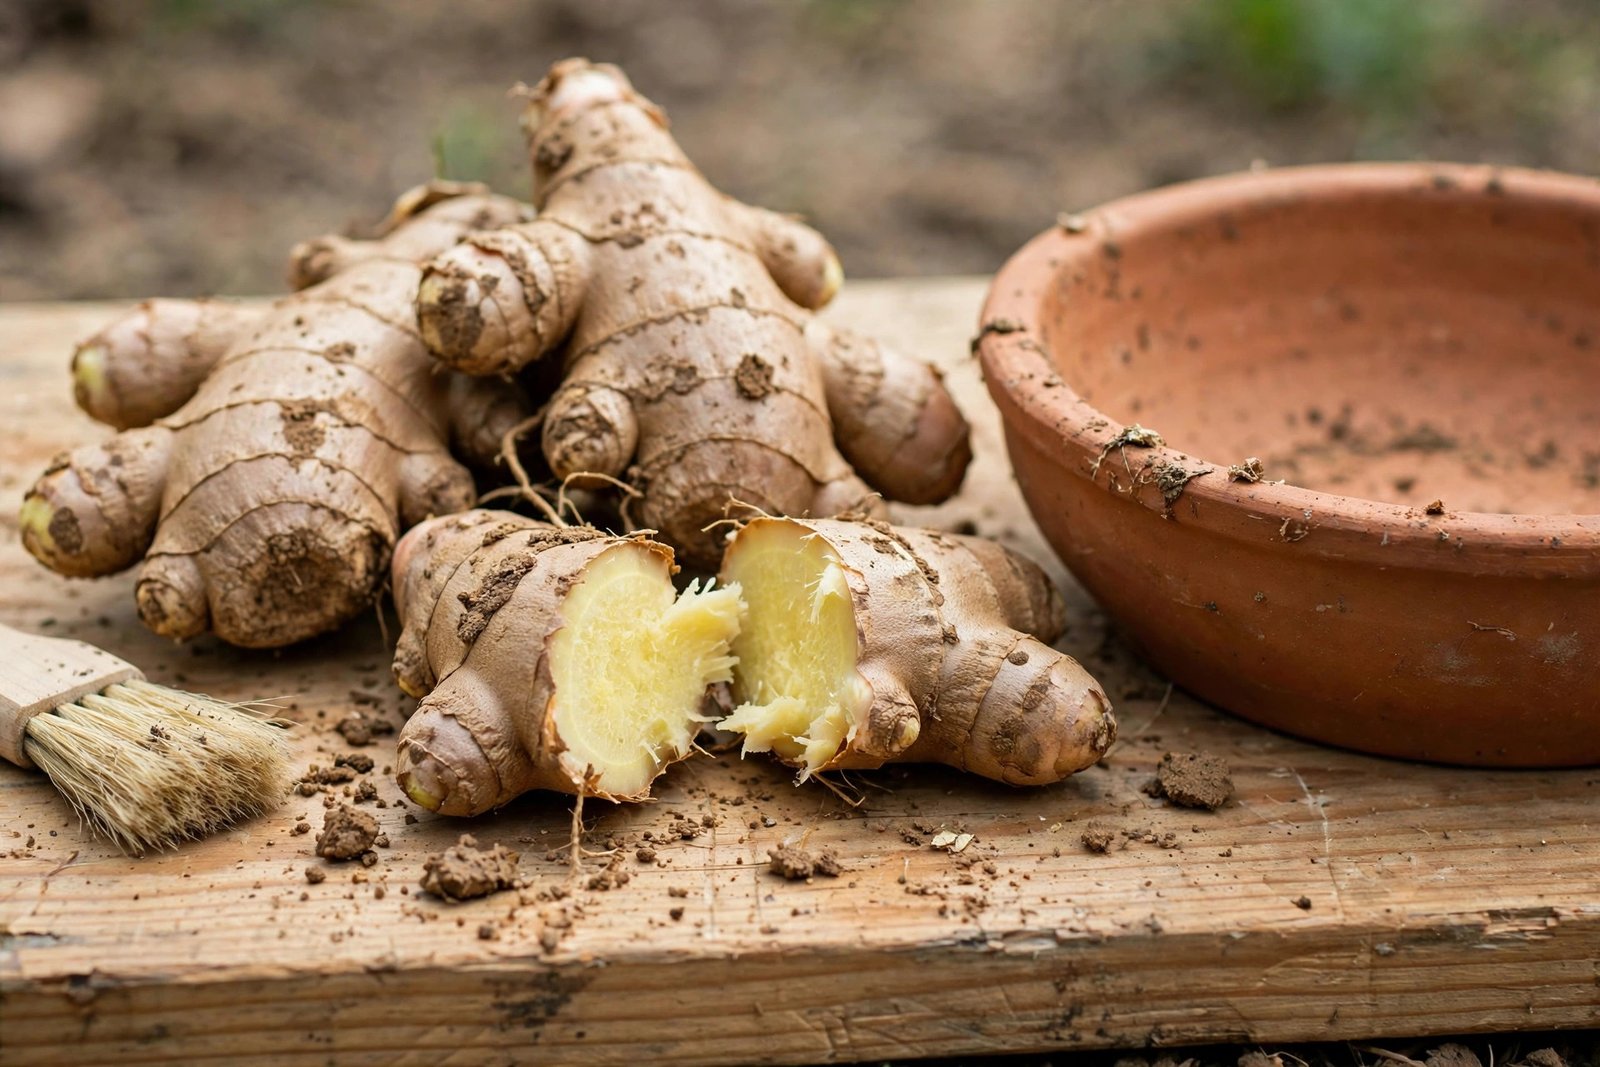
Ginger rewards the grower who buys the wait with open eyes. Choose stock that already shows life. Give it a wide shallow pot, steady warmth, and filtered light. Wait through the empty weeks without digging. Take baby ginger from the edges at about 4 months, and dig the full harvest when the tops fade at 8 to 10 months. The plant asks for months. It pays in fresh ginger cut minutes before cooking, and in a pot that can carry over and grow again. Turmeric is ginger’s tropical partner and will get its own guide on this site.
Ginger in Pots Indoors FAQs
Can I plant ginger from the grocery store?
Yes, with a sourcing test. Choose firm, plump pieces with visible eyes or swelling buds, and prefer organic ginger. Store ginger may have been treated for long storage, and Virginia Tech warns that treated rhizomes may never sprout. The treatment is hard to determine even by asking the store. Buds turning green are the best sign a piece will grow. Cut pieces 1 to 1.5 inches long with at least two eyes each, and let the cut ends callus for a couple of days before planting. A piece with no visible buds is a gamble, not a plan.
Nothing has sprouted after 6 weeks. Is my ginger dead?
Not necessarily. Shoots often take 3 to 8 weeks, and Virginia Tech says sprouting can take up to 50 days or more. The wait depends on bud state and soil warmth: green buds in warm mix move fast, and dormant pieces in cool rooms take the long end. Check warmth first. Sprouting runs best at 70 to 78 degrees Fahrenheit. Keep the mix lightly moist, never wet. If you must check, brush the mix aside gently at one edge and feel the piece. Firm means alive. Mushy means it rotted, and it should be discarded.
When is baby ginger ready, and how is it different from mature ginger?
Baby ginger is ready from about 4 months on, taken as small pieces from the pot edges while the plant keeps growing. It has no thick skin, so peeling is not needed, and the flesh is juicy and mild. Mature ginger is ready at 8 to 10 months, when the foliage yellows and dies back. Dig the whole plant then. Mature rhizomes have thicker skin, hotter flavor, and more fiber, and they need curing before storage. The two harvests come from the same pot. Baby ginger is the early taste. Mature ginger is the main crop.
Can the pot stay indoors all winter?
Yes. Ginger is a tropical plant, and indoors is where it survives cold climates. Keep the pot above 50 degrees Fahrenheit, and above 55 if you are carrying a dormant pot over to spring. Give it a warm bright spot with filtered light, and water lightly while it grows. If the plant loses its leaves and goes dormant, stop watering until new shoots appear in spring. A winter start works the same way: the pot lives in warm indoor air, and the harvest still lands 8 to 10 months on. No winter harvest is promised.
Sources and Further Reading
- Virginia Cooperative Extension, Virginia Tech, Growing Ginger at Home, by Edward R. Olsen and Sanjun Gu (read directly during research for this guide): nursery or seed company stock preferred; grocery ginger may be treated for long storage and may never sprout, and the treatment is hard to determine even by asking the store; buy organic untreated ginger or rhizomes showing swelling or sprouted buds; cut 1 to 1.5 inch pieces with at least two eyes; let cut ends heal and callus for a couple of days; 12 inch or larger container for a single piece; shade tolerant, partial sun, avoid late afternoon direct sunlight; up to 50 or more days to sprout, sprouts at 60 to 86 degrees Fahrenheit, best at 70 to 78; 6 inch pot start; slow-release fertilizer or compost at planting plus general-purpose liquid fertilizer every few weeks in containers; mounding 1 to 3 times when rhizomes show at the surface; baby ginger with no thick skin and no peeling; mature ginger at 8 to 10 months in warm-kept containers; cure by air-drying 1 to 2 weeks; fridge up to 3 weeks unpeeled, freezer up to 6 months; replant storage in a brown paper bag at 55 to 60 degrees; dormancy carry-over above 55 degrees; plants up to 5 feet tall.
- UF/IFAS Extension, EDIS ENH1374/EP638, Ginger, Galangal, and Turmeric Production in Florida, by Paul Fisher and others, 2023 (read directly during research for this guide): seed pieces 2 to 3 inches long with two or more buds; cut pieces dried and cured a few days before planting; pre-sprout on humid mix at about 82 degrees, sprouting usually in 1 to 2 months, avoid above 86 degrees; plant at about 2 inches deep when soil is above 70 degrees; shallow roots, 8 inches of mix adequate; optimum growing temperatures 70 to 85 degrees; baby ginger at 5 months; curing 3 to 5 days under ambient conditions; mounding not found beneficial in Florida; rotten rhizomes and mix disposed of and never reused; seed storage at 55 to 60 degrees.
- University of Georgia Extension, Fulton County, Growing Ginger and Turmeric at Home, 2021 (read directly during research for this guide): plump firm pieces with several eyes; wash thoroughly to remove any growth retardant from shipping; cut 1 to 2 inch segments, sit a few days to callus; pots 2 to 4 inches deep and 6 inches apart with eyes up; high humidity, high temperatures, bright shade; about 3 feet tall; harvest the whole plant at about 8 to 10 months.
- UF/IFAS Extension, Marion County, Growing Turmeric and Ginger in Florida, parts 1 and 2, by Mark Bailey, 2023 (read directly during research for this guide): plants grow to about 4 feet; well-drained loamy soils; choose firm plump rhizomes free of mushy or dark brown spots; plant in spring or early summer; soak several hours to stimulate sprouting; segments at least 2 inches long with several buds; no more than 2 inches deep; shoots emerge after a month or two; harvest after at least 9 months.
- University of Vermont Extension, Growing Ginger Indoors in Winter, by Nadie VanZandt, 2023 (read directly during research for this guide): preferably organic grocery rhizome with noticeable eyes or buds; soak overnight to rehydrate; pot at least 12 inches in diameter with a drainage hole; cover with 1 to 2 inches of mix; warm humid spot near a window, away from direct sunlight; shoots in about a month; edge harvest in a few months by cutting a piece and filling the gap with mix.
- University of Vermont Extension, Growing Ginger and Turmeric Indoors, by Deborah J. Benoit, 2019 (read directly during research for this guide): grows best at 68 degrees or above, never below 50 degrees; cut 2 to 3 inch pieces with 2 to 3 buds each; pot at least 12 inches in diameter, cover about 2 inches; warm location 70 to 80 degrees, heat mat if the room is cool, removed once sprouts show; sprouts in 3 to 8 weeks; ginger 2 to 3 feet tall; foliage fades after 8 to 10 months; whole rhizome keeps in the refrigerator up to 3 months, freezer up to 6 months.
- University of Wisconsin-Madison Extension, Wisconsin Horticulture, Ginger, Zingiber officinale, by Susan Mahr, revised 2026 (read directly during research for this guide): supermarket rhizomes often treated with a growth inhibitor, organic pieces may sprout; plump pieces with swollen buds, green buds most likely to grow; at least two eyes per section; dry cut pieces a few days and callus over; soak overnight in warm water; plant about an inch deep, soil over 68 degrees, best around 77 degrees; shoots 3 to 4 feet tall; baby or green ginger after about 4 months; a 14 inch pot holds three rhizomes; move inside when nights drop below 50 degrees; no water when leafless and dormant; do not refrigerate rhizomes for replanting; leaf yellowing with curling and wilting means discard the plant.
- Old Farmer’s Almanac, How to Grow Ginger Indoors, by Robin Sweetser, updated 2025 (read directly during research for this guide): shallow wide pot, eyes up, barely covering the rhizomes; warm spot out of direct sunlight; evenly moist, not soggy; green buds shoot in about a week, up to 3 to 4 weeks for greenery; stalks 2 to 4 feet; brought inside below 50 degrees; edge harvest of small amounts after about 4 months; best flavor when plants naturally die down.