
Regrowing Green Onions on a Windowsill

The next bunch of green onions you buy can give you more than one harvest. Save the white base at the bottom, stand it in a jar of water, and set the jar on a bright windowsill. New green shoots usually appear in 2 to 3 days. The first usable cut is ready in about 7 to 10 days.
That is the honest version, and it comes with one limit most guides skip. A jar of water is a short project, not a forever system. Plan on 2 to 3 good harvests from one base, then move the plant to soil if you want it to keep going for months. This guide follows one jar through that whole arc, day by day.
Green Onions in a Jar at a Glance
- Save: 1 to 2 inches of white base with the roots still attached
- Setup: a clear jar or glass, with water covering the roots only
- Light: the brightest windowsill you have
- Water change: every 2 to 3 days, daily in a warm room
- First shoots: day 2 to 3
- First cut: day 7 to 10
- Harvests in water: 2 to 3 good ones, then flavor and vigor fade
- Long game: transplant to soil for months of production
Start at the Cutting Board: What to Save
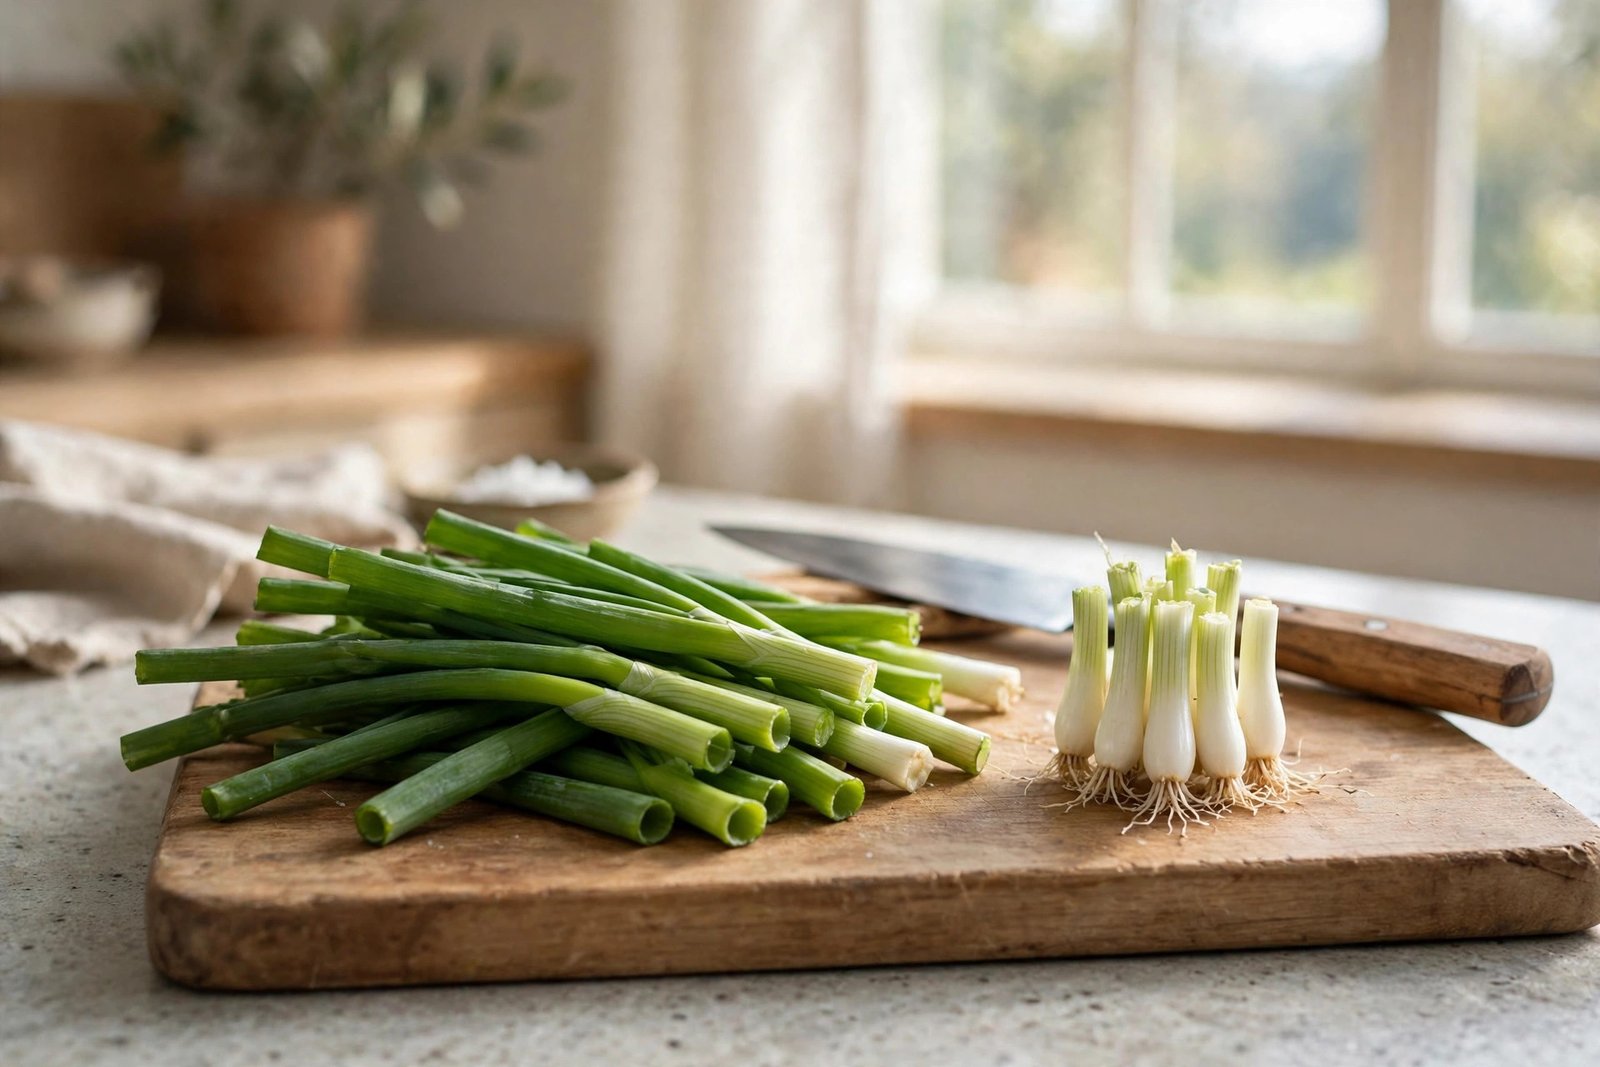
The whole project is decided before the jar comes out. When you cook with a fresh bunch, cut the green tops as usual and stop short. Leave 1 to 2 inches of white base at the bottom, with the small roots still attached at the end. That white section is the plant’s stored energy and its growing point. Without it, there is nothing left to restart.
Bases worth saving
- The white base feels firm when you squeeze it gently.
- The roots look pale and intact, even if they are short.
- The cut end looks clean and fresh, not dried out.
Bases to toss in the compost
- The base feels slimy or soft between your fingers.
- The bunch is limp overall and the whites have gone translucent.
- There is a sour smell before the jar is even filled.
A weak base does not recover in water. It rots in water. Starting with the firmest bases from the bunch is the simplest quality control this project has, and it costs nothing. If you grow other crops from the same sill, our wider guide to growing vegetables indoors shows where quick projects like this one fit beside slower pots.
Set Up the Jar: The Rot Rule
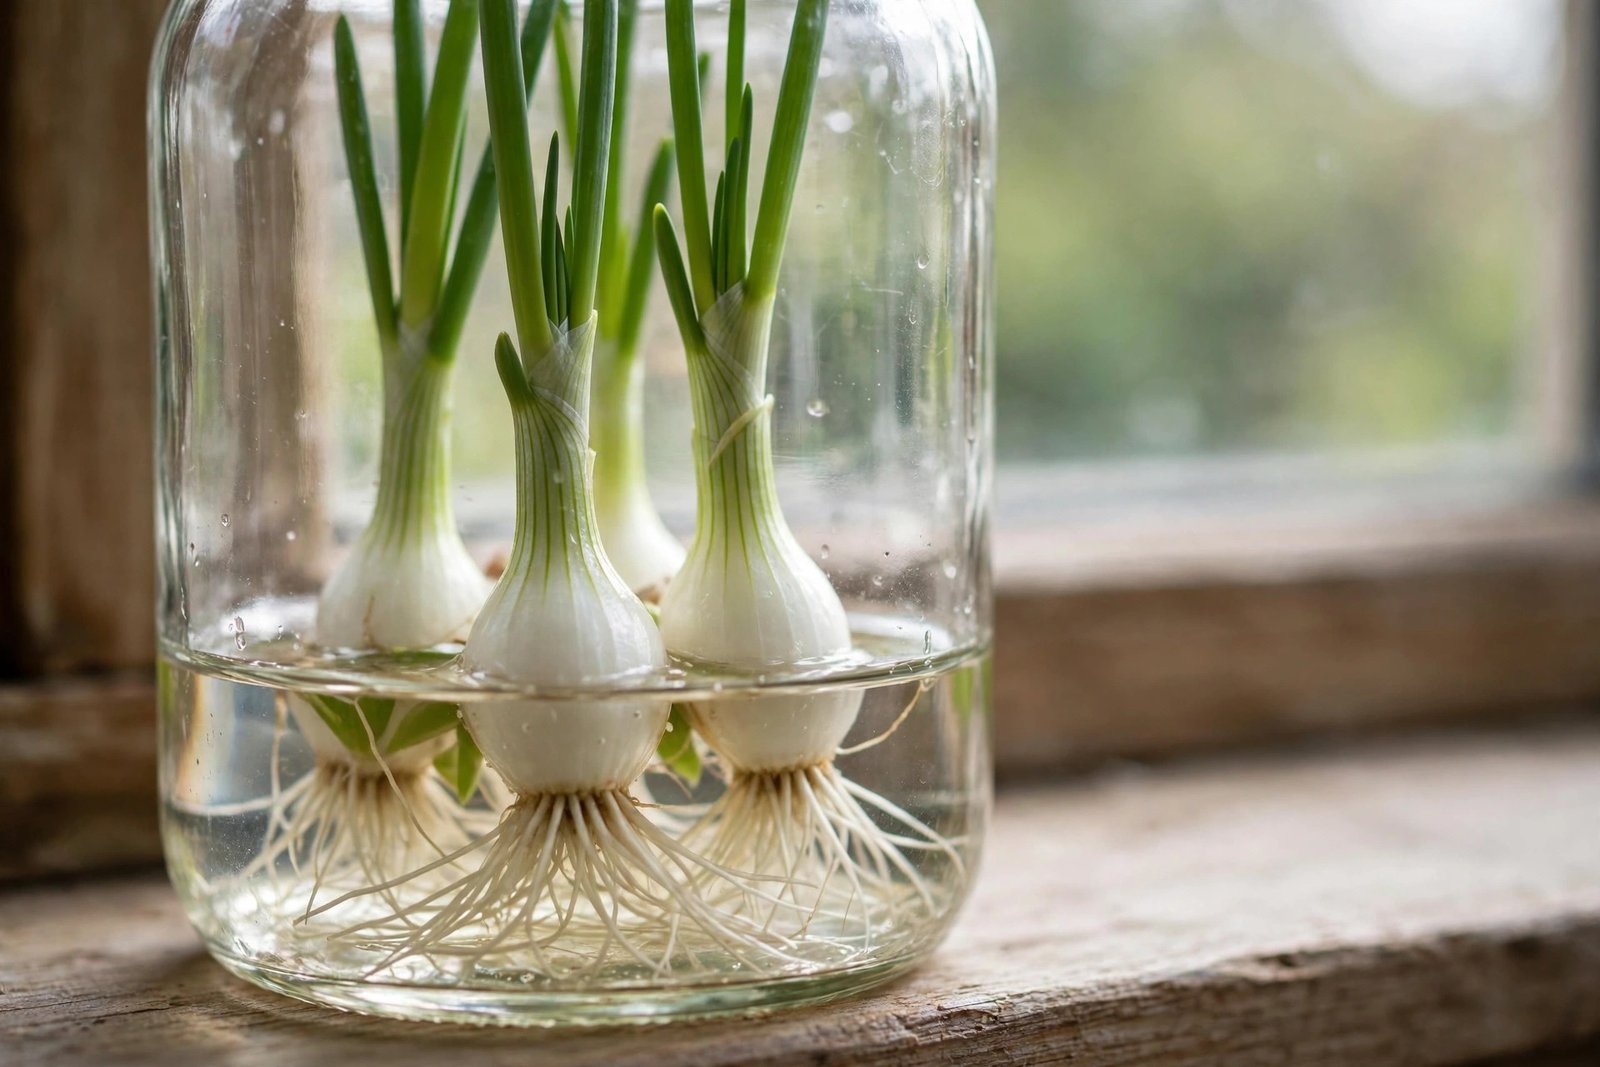
Pick a clear jar or drinking glass. Clear glass matters because you can see the water level and the roots at a glance. Stand the bases upright, roots down. A small jar that holds them snugly works better than a wide bowl where they tip over.
Now add water, and stop early. The water should cover the roots only. The white bulb sits above the water line. This is the rot rule, and it is the one detail that decides whether the jar smells fresh or turns slimy by day four. Submerged white tissue softens and rots. Roots in water drink. Keep those two jobs separate and the jar stays clean.
The one-line setup: roots in the water, white base above the water, jar on the brightest sill you have.
Light does the rest of the early work. A bright windowsill gives the new shoots what they need to grow green and upright. A dim counter still works, but the shoots come up paler and thinner. If your sill already holds herbs, the light habits are the same ones covered in our indoor herb garden guide.
Your First Week, Day by Day
Regrowing in water is fast enough that a timeline is more useful than a checklist. Here is what a healthy jar actually looks like as the days pass.
| When | What you should see | Your one job |
|---|---|---|
| Day 0 | Bases standing in shallow water, cut ends dry on top | Set the jar on a bright sill and check the water line |
| Day 1 | Little change above the rim; roots may look brighter | Leave it alone, but glance at the water clarity |
| Day 2 to 3 | Fresh green points push out of the cut center | Top up the water if the roots are exposed |
| Day 4 to 6 | Shoots lengthen fast and stand upright | Change the water on the 2 to 3 day rhythm |
| Day 7 to 10 | Green tops long enough to use in the kitchen | Take the first cut, as described below |
If day 3 passes with no green point at all, do not panic on the spot. A cold sill slows everything down. Give the jar two more days in better light before you judge the base a dud. If the water has turned cloudy and sour in that time, the problem is rot, not patience, and the troubleshooting section below covers it.

How to Cut So the Base Keeps Working
When the green tops are long enough to use, snip what you need with clean scissors. Cut the greens and leave the white base untouched in the jar. The center of the base holds the growing point, so a cut that stays in the green zone lets the plant push out another round.
Two habits protect the next harvest. First, take the longest outer greens and leave the younger center shoots to size up. Second, never peel the base apart to get more greens. Once the base is opened up, it takes in water where it should not and rots quickly. Cut greens only. The base is the engine, not the harvest.
Within a day or two of the cut, you should see fresh growth starting again from the center. That second push is usually a little slower than the first. That is normal, and it is your first clue about the limit in the next section.
The Water Rhythm: Small Jar, Fresh Water
The only real chore in this project is the water. Change it every 2 to 3 days. Pour the old water out, rinse the jar if it feels slick, and refill to the same low line over the roots. In a warm room, change it daily instead. Warm water grows cloudy faster, and cloudy water is where the slime and smell begin.
Fresh water does three quiet jobs at once. It clears away the film that forms on the roots. It keeps the jar from smelling like a swamp on your sill. And it gives you a regular moment to check the bases, so a softening one gets pulled before it spoils the rest of the jar.
Do not add fertilizer to the jar. Plain water is the point of the method, and the base is running on its own stored energy anyway. Feeding a jar does not extend its life in any way you can taste. Soil is the upgrade, and it comes next.

The Honest Limit: 2 to 3 Harvests in Water
Plenty of headlines promise an endless supply from one bunch. A jar does not work that way. The white base holds a fixed store of energy, and every round of greens spends some of it. The shoots get a little thinner each time. The flavor fades too.
America’s Test Kitchen Kids explains it plainly in its scallion regrowing guide. A scallion white holds enough stored nutrients to grow the greens back about two more times before the plant runs out of fuel. In kitchen terms, plan on 2 to 3 good harvests in water, and treat anything past that as a bonus rather than a promise.
Gardenary makes the same point from the flavor side. Green onions grown in water lose flavor after about 1 to 2 weeks, while plants moved to soil keep producing for months. Water alone carries no fresh nutrients for sustained growth, so the jar is best seen as a head start, not a home.
The soil fork: where the project splits
When the second or third cut looks thin, you have two honest options.
- Finish in the jar. Take the last usable greens, compost the spent base, and start again with the next fresh bunch. Simple, and fine for most kitchens.
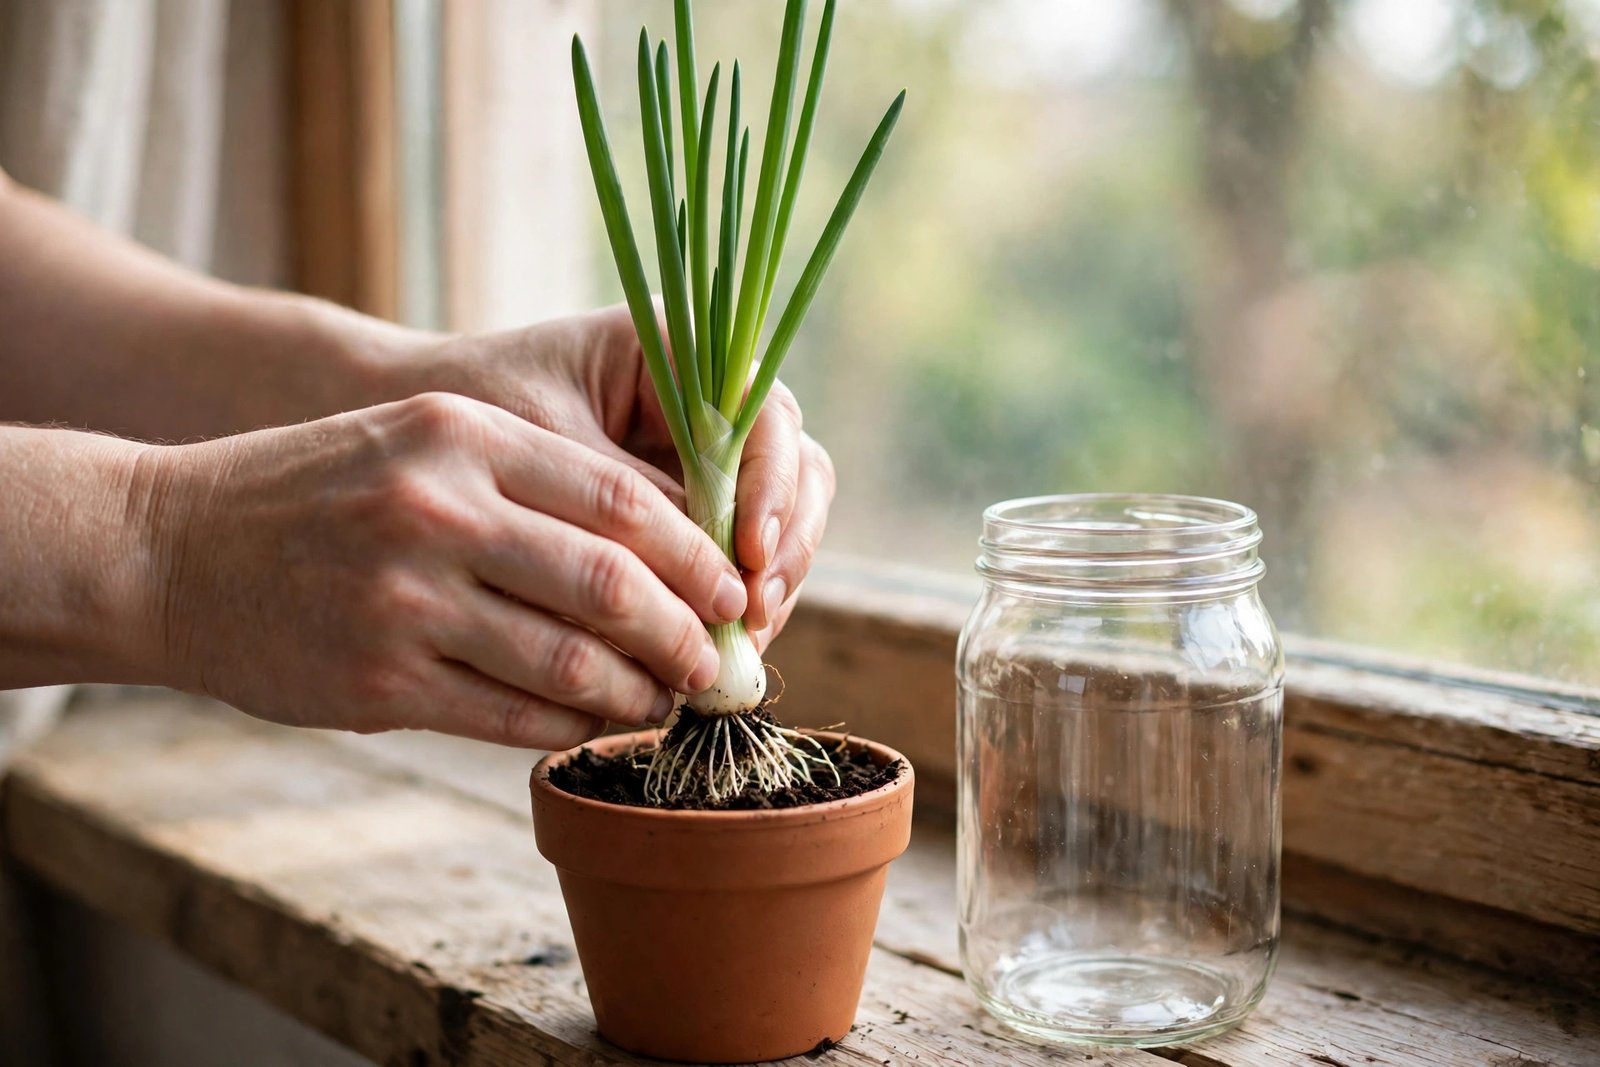
- Move to soil. Plant the base in a small pot of potting mix, roots down and the white section just under the surface. Water it in and keep the pot on the same bright sill. In soil the roots can feed again, and the plant settles in for months of cuts instead of weeks.
The transplant takes five minutes and asks for one pot. For a windowsill lineup that mixes quick jars with longer pots, our list of the best herbs to grow on a windowsill pairs well with a soil pot of onions.
| Stay in water | Move to soil | |
|---|---|---|
| Good harvests | 2 to 3 | Ongoing cuts for months |
| Flavor | Fades after about 1 to 2 weeks | Stays full as roots feed again |
| Upkeep | Water change every 2 to 3 days | Normal pot watering |
| Best for | A fast, free first round of greens | A standing supply on the sill |
Troubleshooting: Four Jar Problems, Four Fixes
The bases turned slimy
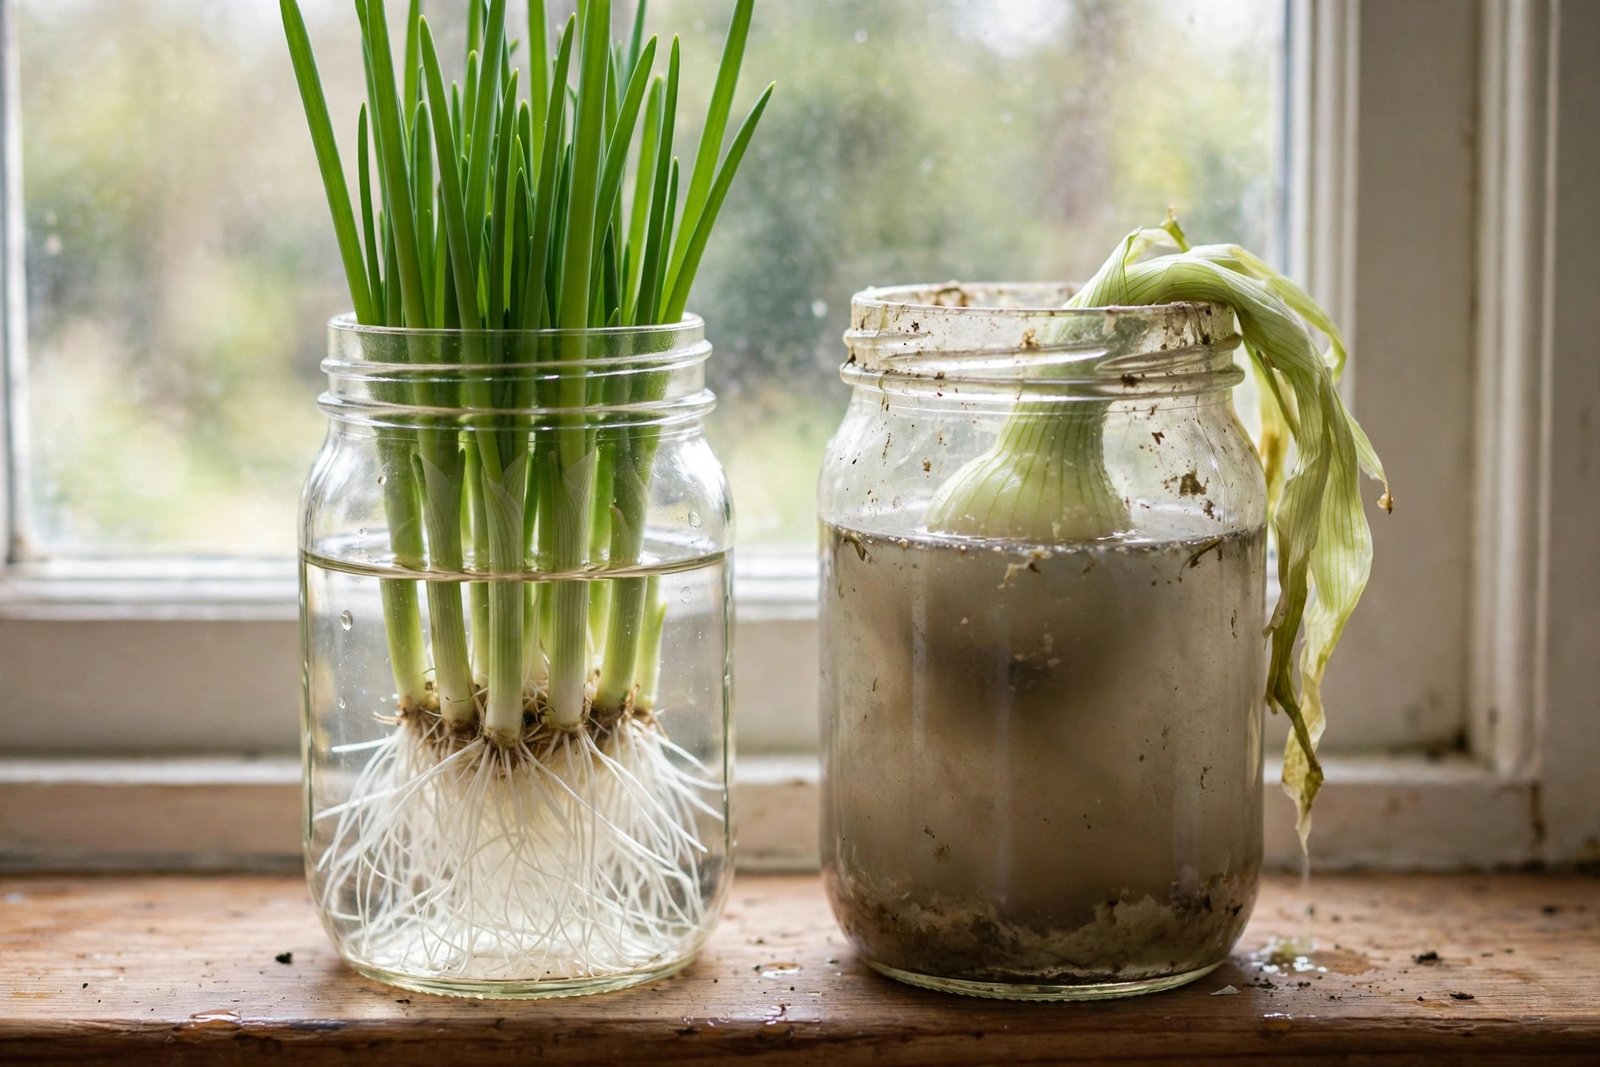
This is the rot rule broken, almost every time. The water sat too high over the white base, or it sat too long unchanged. Pull the slimy base out at once. It will not recover, and it will spread the problem to healthy bases sharing the jar. Rinse the survivors, refill to the root line only, and restart the water rhythm.
The jar smells sour
Smell is an early warning, not a disaster. Pour the water out, rinse the jar and the roots, and refill fresh. If the smell returns within a day and the bases feel soft, those bases are done. Compost them and start the next jar with firmer bases.
The shoots are thin and pale
Thin pale growth points at light first. The jar is too far from the window, or a curtain is doing more shading than you think. Move the jar to the brightest sill you have and give it two days. If a base is on its third round, though, thin shoots may simply mean the stored energy is spent. That base needs soil or the compost.
Nothing is growing at all
Check the base before you blame the method. A base saved without roots, or one that was slimy on day 0, rarely starts. A healthy base on a cold sill can also sit quiet for an extra day or two. Fresh water, better light, and two more days will tell you which case you have.
Green Onion Regrowing FAQs
How many times can you regrow green onions in water?
Plan on 2 to 3 good harvests. The white base holds a fixed store of energy, and each round of greens spends some of it. Later rounds grow thinner and taste milder, so move the base to soil if you want it to keep producing.
Can you regrow store-bought green onions?
Yes. Store-bought bunches are exactly what this method uses. Pick a firm bunch with pale intact roots, save 1 to 2 inches of white base when you cook, and start the jar the same day if you can.
Why did the water in my jar turn cloudy?
Cloudy water usually means it sat too long, the room is warm, or the water level covered the white base. Pour it out, rinse the jar and roots, and refill with fresh water over the roots only. In a warm room, change the water daily.
Do green onions in a jar need sunlight?
They need bright light to grow thick green shoots. A bright windowsill is enough for a jar project. In weak light the shoots still grow, but they come up thin and pale, so move the jar closer to the glass.
When should you move green onions from water to soil?
Move them after the second or third cut, or sooner if the shoots turn thin and the flavor fades. Plant the base in a small pot with the white section just under the surface, water it in, and keep it on a bright sill.
Can you eat the white base too?
You can, but save that for the final harvest. The white base is the engine that grows the greens back. Eat it early and the project ends. Use the green tops round by round, then finish the base at the end.
The Jar Is Small. That Is the Point.
This is the cheapest project on the site. One bunch, one jar, one bright sill. Shoots in 2 to 3 days, a first cut inside 10 days, and 2 to 3 honest harvests before the jar asks for a decision. Finish it and restart, or give the base a pot of soil and let it run for months.
Either way, you will never look at the white ends of a bunch the same way again. They are not trimmings. They are the next planting.
Sources and Further Reading
- America’s Test Kitchen Kids, Regrow Scallions (via Kroger): the stored fuel limit behind the 2 to 3 harvest count.
- Gardenary, How to Regrow Green Onions From the Store: flavor fade in water at 1 to 2 weeks, and months of production after a move to soil.
No university extension guide for kitchen scrap regrowing was found in research for this article, so none is cited for the regrowing steps. The soil fork rests on the general principle that plain water carries no fresh nutrients for sustained growth.


5 Comments