How to Regrow Celery from Scraps: What You Really Get

The verdict: A celery base regrows leaves, not a new bunch. Set the bottom two inches of a bunch in water and new leaves will push out of the center within days to weeks. Move the base to soil and it grows more leaves and lasts longer. No extension source promises thick stalks or a store-style bunch from a regrown base, and this guide will not promise one either. What you get is real and useful: fresh leaves for cooking, cut a few at a time.
The short version: Cut two inches off the bottom of a fresh bunch. Set the base cut side up in a shallow dish with an inch of water. Keep it on a warm sunny sill and change the water often. When roots show and center leaves are growing, after about two to three weeks, either keep picking leaves from the dish or move the base to a pot of moist soil.
Celery is the scrap project that oversells itself online. Photos of full new bunches make it look like one base replaces the next three grocery trips. The extension record says something smaller and more honest. Iowa State University Extension describes the base as a way to grow more leaves, and the University of Illinois Extension is just as plain: what grows at home may not match the look of what the store sells. This guide follows that evidence. It tells you what the base gives, how to run the water stage, when soil is worth it, and how to use the leaves you get.
Regrow or Grow from Seed? Pick by What You Want to Eat
Two routes lead to celery in the kitchen, and they end in different places. The table sets them side by side. Pick the route that matches the harvest you actually want.
| Route | First harvest | What you get | Effort | Best for |
|---|---|---|---|---|
| Regrow a base | Leaves in days to weeks | Fresh leaves for cooking, more of them in soil | A dish, water, and patience | Quick leaves and a fun kitchen project |
| Grow from seed | Stalks after a 10 to 12 week indoor start plus up to 140 days | Full 12 to 18 inch stalks | A long cool season and constant water | Gardeners who want real stalks |
The seed figures in the table come from The Old Farmer’s Almanac, which puts celery’s season at up to 140 days with a 10 to 12 week indoor start. The seed route is a different project with its own calendar. If full stalks are the goal, start with our guide to starting seeds indoors for the tray method and timing, and plan on the Almanac’s long season. This guide stays with the base.
The Base and the Water Stage
Choose a base with its center intact
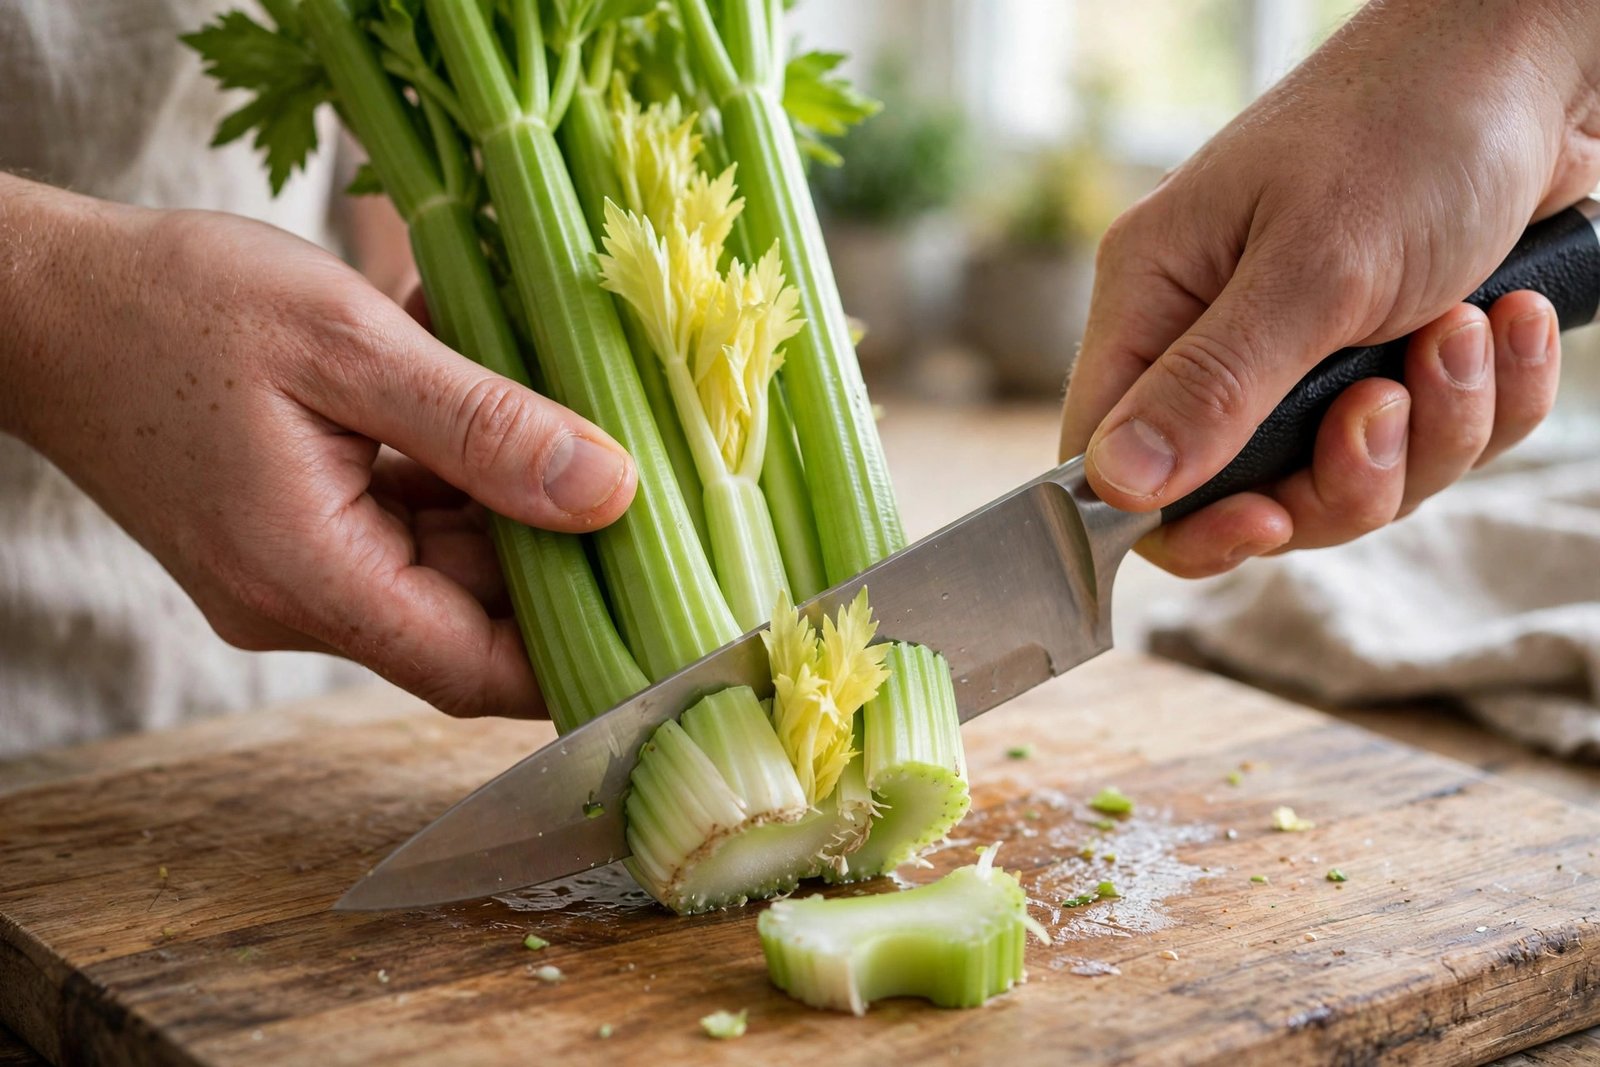
Buy a fresh bunch and look at the bottom before you cut. You want a firm base with the center leaves still in place, because new growth comes out of the center. Iowa State and Illinois Extension both describe leaves emerging from the center of the base. If the center was already cut away for cooking, the base has nothing left to grow from, so save a different bunch for this project.
Cut about two inches above the bottom of the stalk. Both extension sources land on two inches: Illinois Extension says cut about two inches above the bottom, and Iowa State says preserve the bottom two inches of the root end. Set the base cut side up in a shallow dish or jar. Add water to cover the bottom inch or so, and keep the cut top above the water.
Water, light, and the one conflict to know
Put the dish in a warm, sunny spot. Both sources agree on that. The water rhythm is where they part ways, and this guide will not smooth it over. Illinois Extension says to change the water every day and to maintain the inch of water at all times. Iowa State says to change the water every two to three days, to prevent fungal or mold growth in the water. This guide follows the daily rhythm. It is the simplest way to keep the water fresh, and fresh water is what keeps a base from turning slimy. If you follow the two to three day rhythm, change the water the moment it clouds, whatever the calendar says.
Do not borrow a water rhythm from another crop by habit. Green onions and celery are different projects with different needs, and our guide to regrowing green onions indoors runs its own schedule for its own crop. Follow the celery rhythm here, not the one you remember from the last project.
Three decision points, no day-by-day chart
Celery does not keep a tidy schedule, so this guide uses decision points instead of a day-by-day chart. Watch for these three.
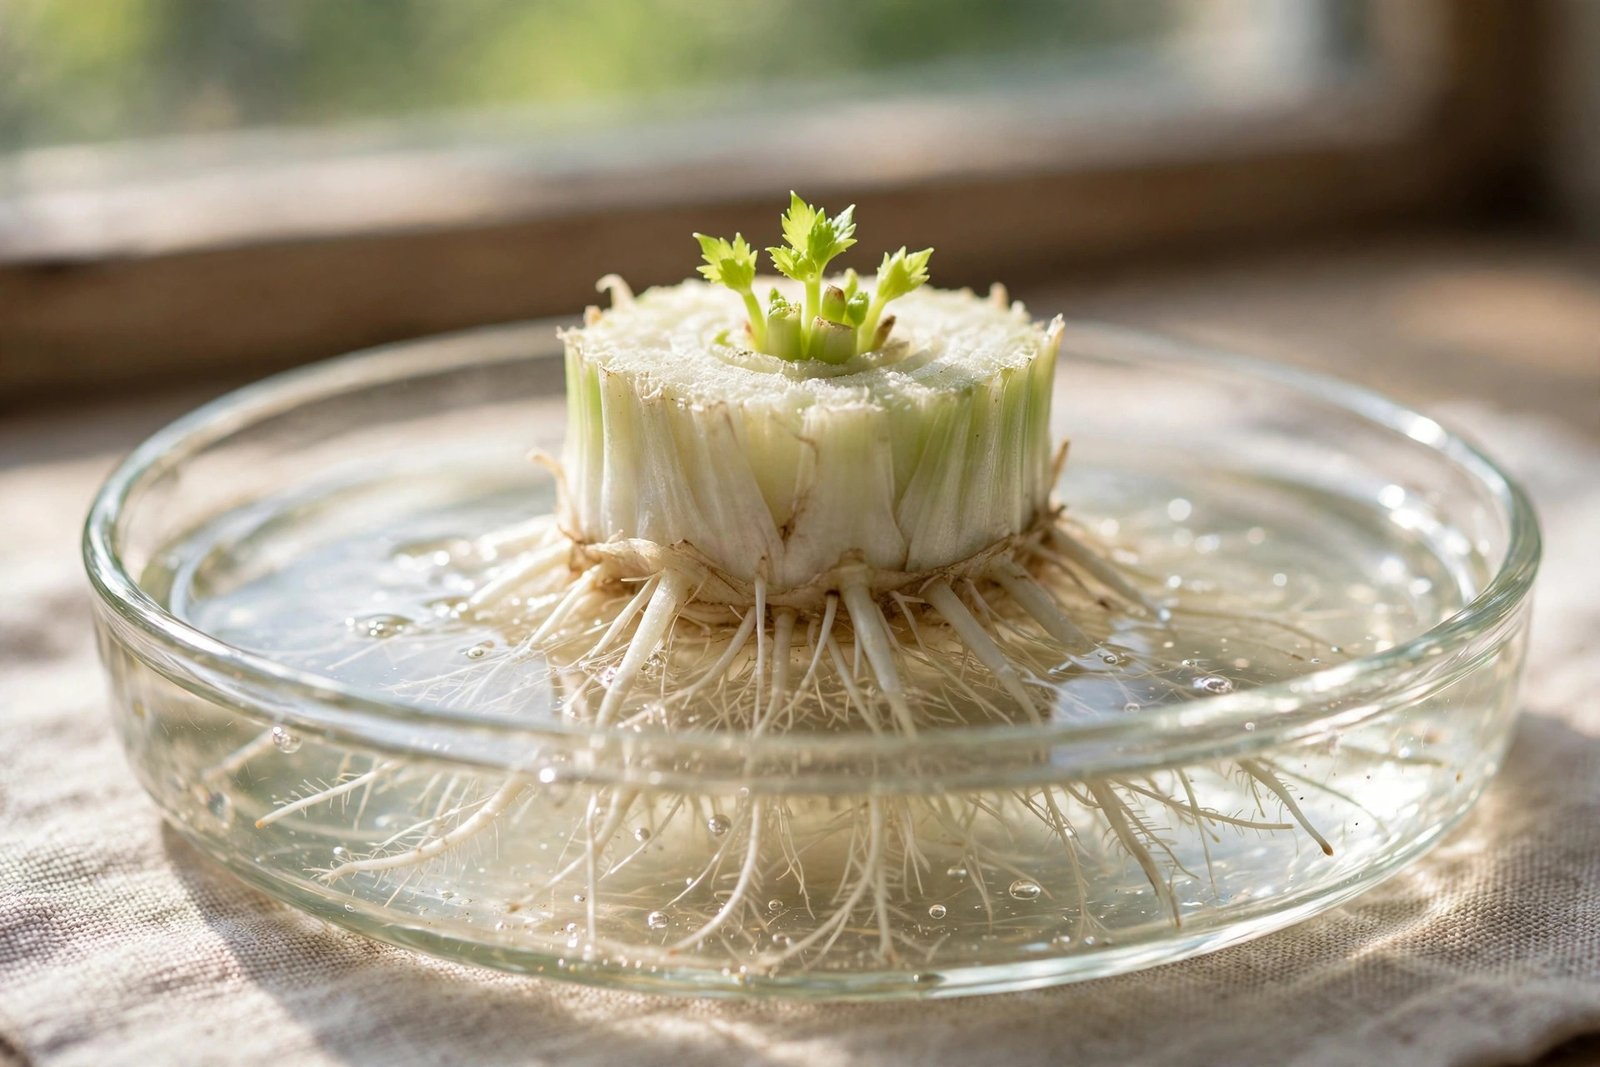
Working: Tiny leaves push out of the center and white roots show below the base. Illinois Extension says roots and leaf growth appear in a few days. Iowa State gives a wider window: several days to weeks. Either is normal. A base that shows center leaves is working, even if the roots are still thin.
Rotting: The water clouds, the base feels slimy, or the dish smells sour. Change the water at once and rinse the dish. If the base itself has gone soft or mushy, the project is over. Compost it and start a fresh base. A rotting base does not recover.
Ready for soil: Roots are showing and the center leaves are clearly growing. Illinois Extension puts the move at two to three weeks. Some blogs move the base after 7 to 10 days, but those are blog figures, not extension figures, and this guide follows the extension timing. A base moved too early, before it has roots, dries out in soil instead of growing.
The Soil Fork: Stay in Water, Move to Soil, or Restart
After the water stage, the project forks three ways. The right choice depends on what you want from the base, not on a rule. All three are fine. Only one thing is wrong, and that is leaving a base in stale water and hoping.
Stay in water for quick leaves
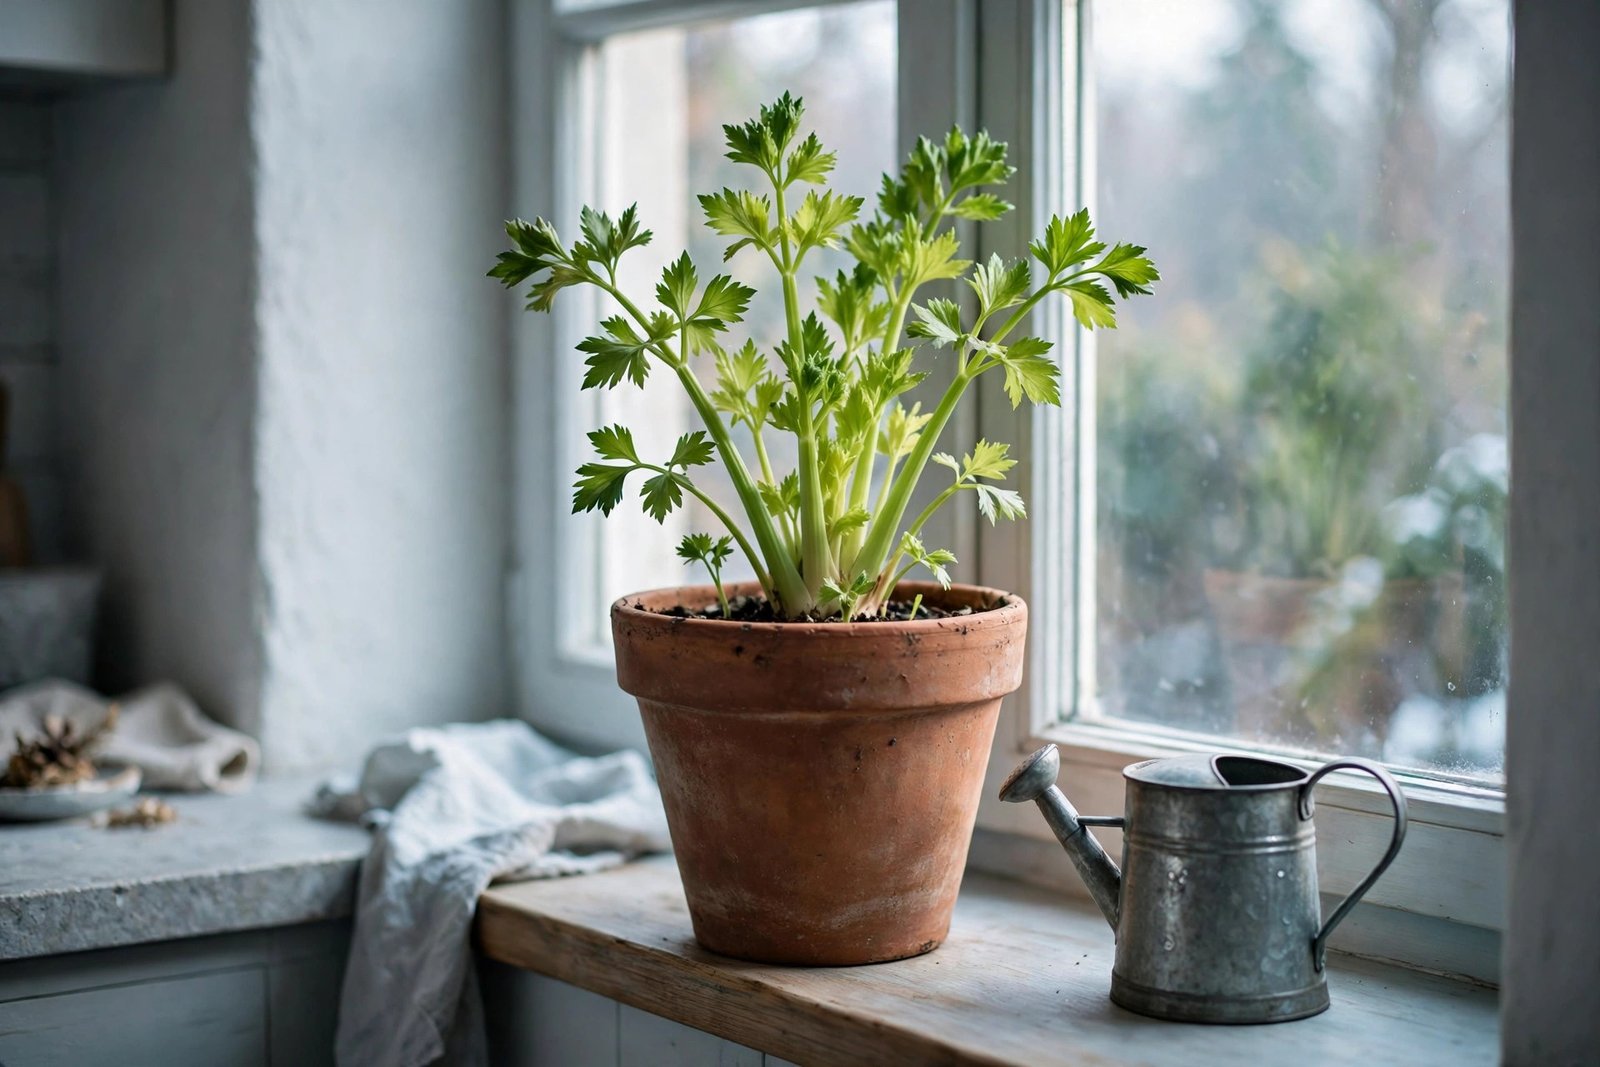
Keep the water fresh and about an inch deep, and keep picking the outer leaves as they grow. Iowa State says you can keep harvesting this way and maintain clean water about an inch deep in the container. Growth stays modest. Plain water feeds nothing, so the leaves stay small and the base eventually stops pushing new leaves. When that happens, the project is done, and the next bunch is the next attempt.
Move to soil for a longer project
Set the base in a pot with drainage holes and cover it with potting mix, all except the center leaf tips. That covering follows Illinois Extension, which tells you to cover the base completely except for the center leaf tips. Use a moisture-retentive, fertile mix. Celery is a thirsty plant with shallow roots, and The Old Farmer’s Almanac names constant water as one of its three critical needs, warning that stalks go small, stringy, tough, or hollow without it. The mix recipe lives in our guide to the best soil mix for vegetables in pots, so this guide will not repeat it.
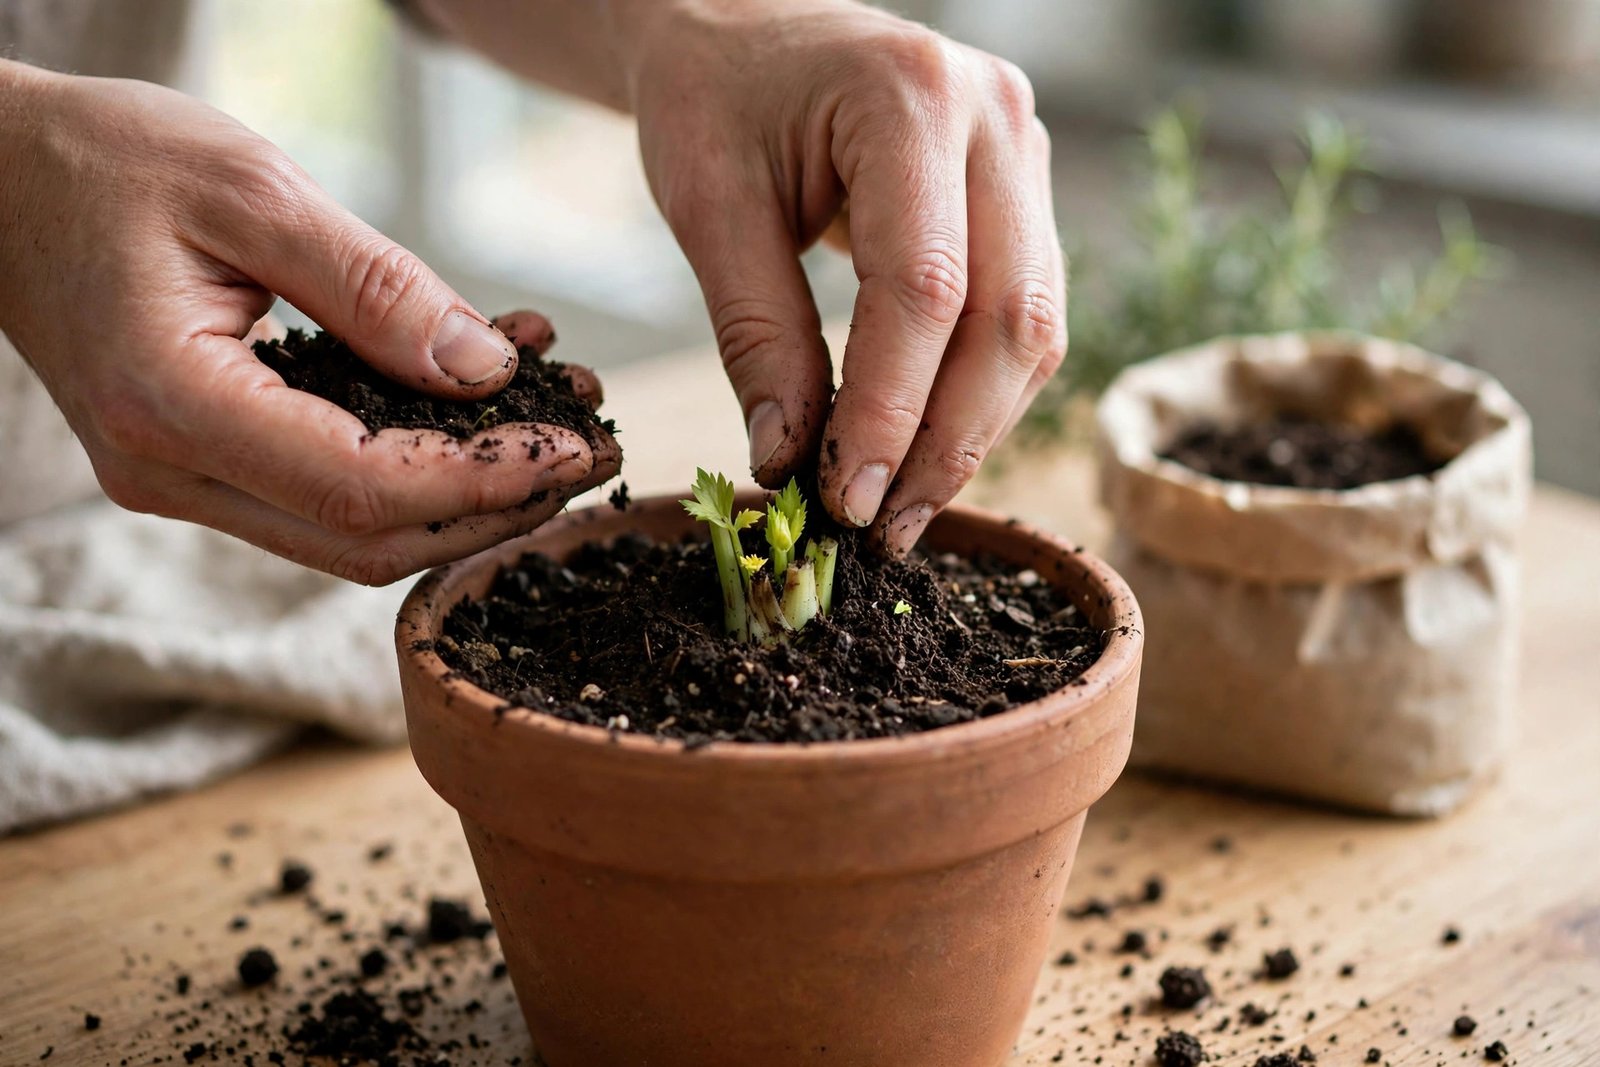
Water is the whole job after transplanting. Keep the soil evenly moist and never let it dry out. Put the pot in a bright spot in a cool room. Celery wants cool weather and will not tolerate high temperatures, per the Almanac, so a hot sill above a radiator is the wrong home. A bright kitchen window in a cool room suits it better. Growth in soil is leafier and lasts longer than growth in the dish, but it is still leaves. Soil does not turn a regrown base into a store bunch.
Restart without guilt
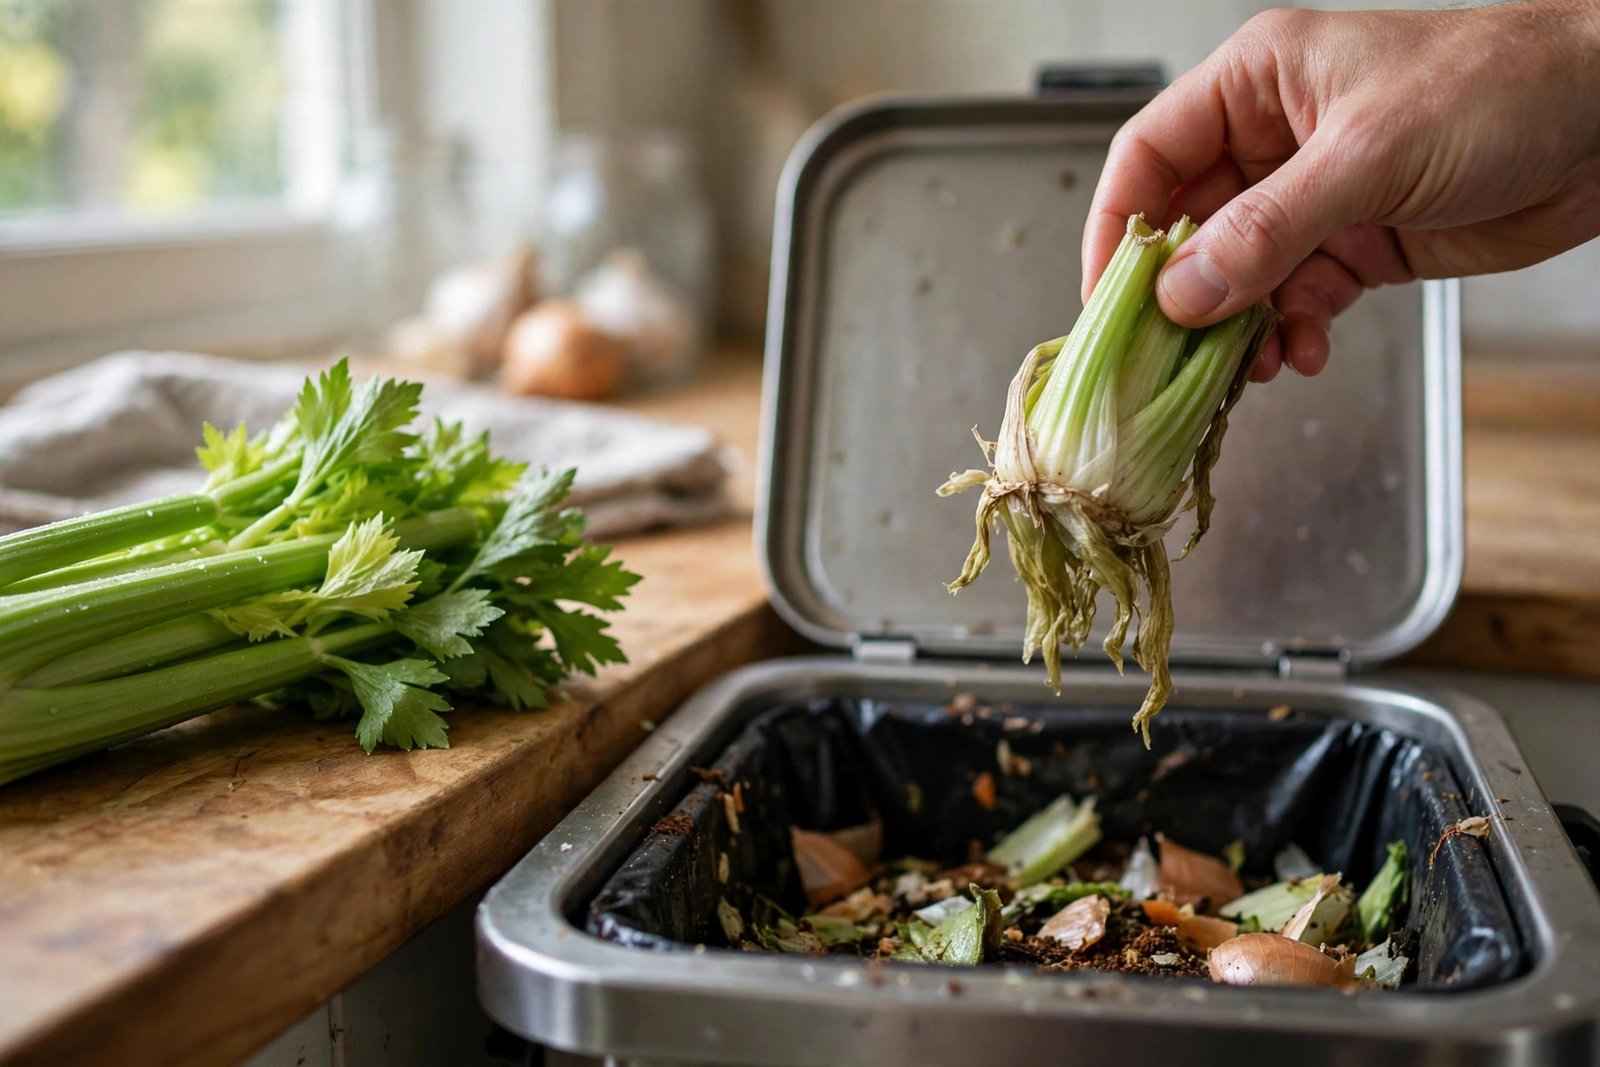
If the base rotted, stalled, or simply stopped, compost it and start again with the next bunch you buy. A failed base costs nothing but a few days of water. This is a scrap project. The next bunch is the next attempt, and a fresh firm base usually does better than a tired one nursed along.
If this project leaves you wanting a real indoor vegetable crop rather than a kitchen experiment, start with our guide to growing vegetables indoors, which ranks what actually produces on a windowsill. Celery from scraps is a fun extra. It is not a crop, and this guide does not pretend otherwise.
Cutting and Using What Grows
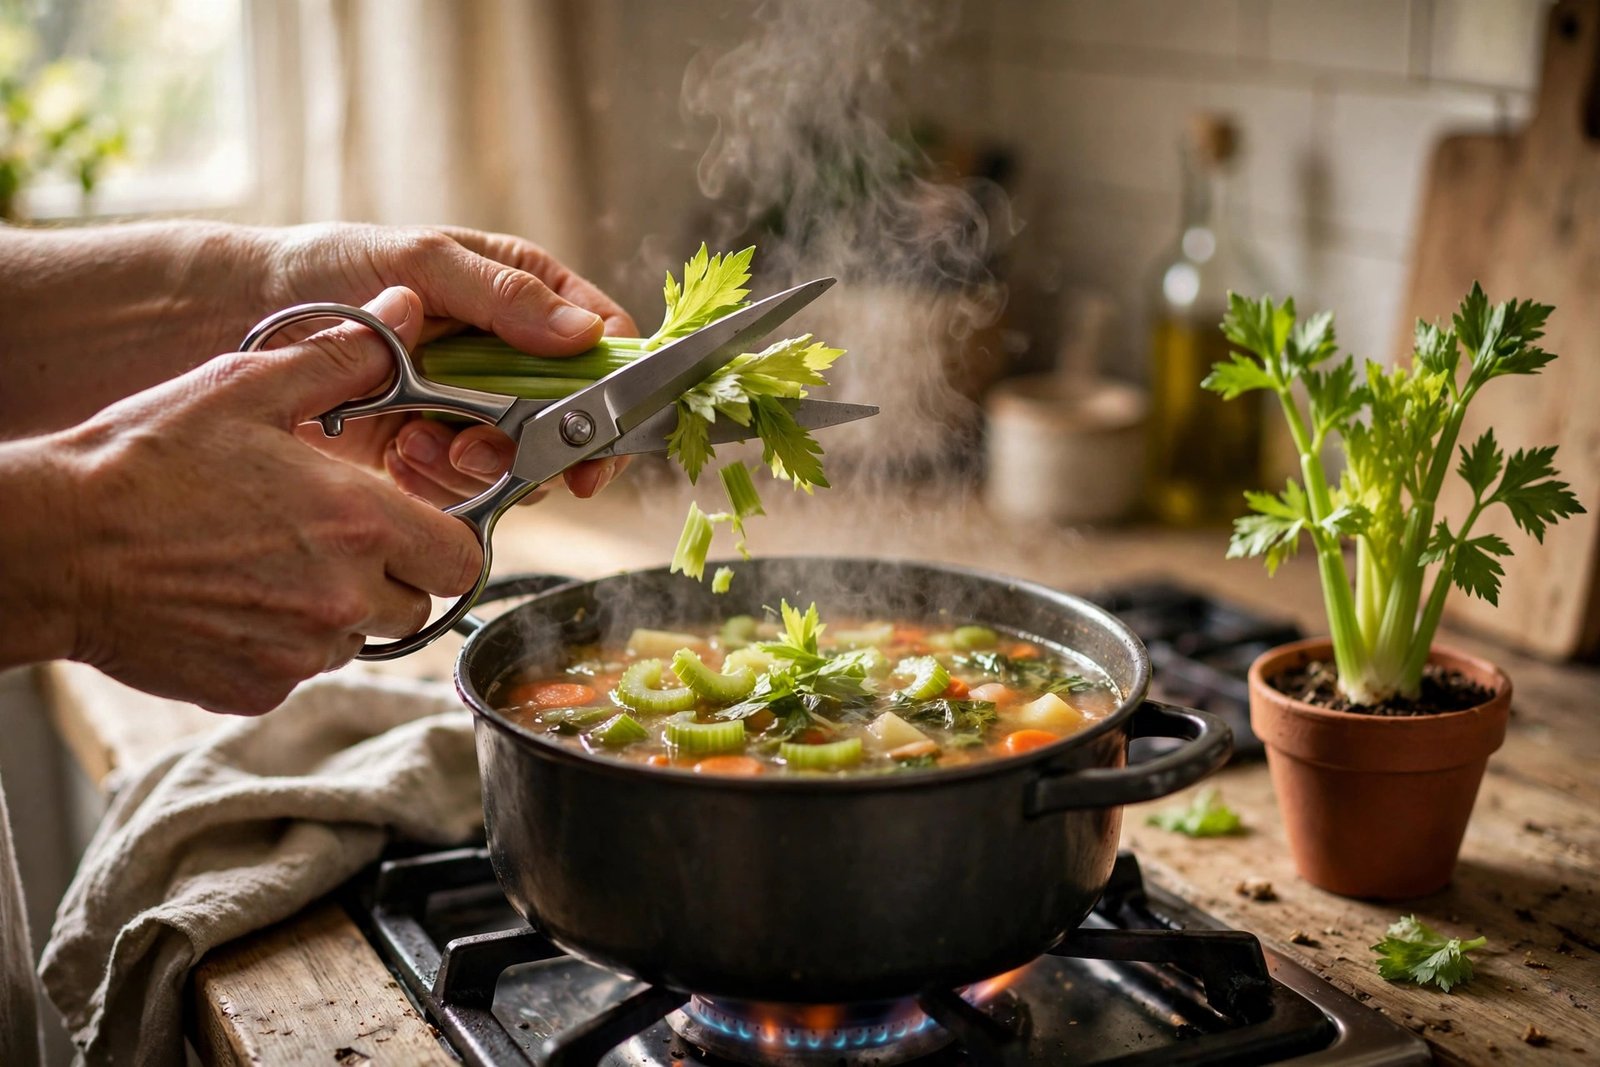
Snip the outer leaves with scissors and leave the center alone. New growth comes from the center, so cutting the middle off ends the project early. Take a few leaves at a time, a few times a week, and let the center keep pushing.
Use the leaves the way you would use the leafy tops of a store bunch. Chop them into soup or stock, scatter them over salad, or use them as a garnish. Iowa State’s instruction is simple: the new leaves can be trimmed off and eaten. The leaves carry celery flavor, so they earn their place anywhere a recipe wants it. Start with less than you think you need. A small handful flavors a whole pot.
When the base stops pushing new leaves, or the leaves come thin and weak no matter what you do, the base is spent. Compost it. A spent base owes you nothing, and a fresh one starts the whole cycle again in days.
Four Failure Verdicts
When something goes wrong, the cause is usually one of four. Each verdict below names the cause and the one fix worth trying.
1. Slimy base, cloudy water. Cause: stale water. Iowa State names the risk plainly: still water grows fungus and mold. Change the water daily, rinse the dish, and keep only the bottom inch wet. If the base has gone soft, compost it. No fix saves a mushy base.
2. Nothing growing after weeks. Cause: usually patience, sometimes a dead base. Iowa State’s window is several days to weeks, so a quiet first week is normal. Check that the center is intact and the dish sits somewhere warm and sunny. If three weeks pass with no leaves and no roots, the base was likely old or damaged. Start fresh.
3. Thin, pale, bitter leaves. Cause: weak light, no food, or heat stress. Leaves grown in plain water stay thin, and moving the base to soil makes growth stronger, per Iowa State. If the leaves taste harsh, check heat first. Celery wants cool weather, and a hot sill stresses the plant. Move the pot somewhere cooler and keep the water steady.
4. Base collapses after transplant. Cause: drying out. A base that thrived in a dish can fold within days in dry soil. Celery has shallow roots and needs constant moisture, per the Almanac. Keep the soil evenly moist from the first day in the pot, and keep the base covered except for the leaf tips. If the center is still firm, steady water usually brings it back. If the center has gone soft, restart.
The short version: A celery base gives you leaves, not a bunch. Cut two inches, keep an inch of water fresh on a sunny sill, and move the base to moist soil after two to three weeks if you want it to last. Snip the outer leaves, leave the center, and use what grows in soup and salad. When the base is spent, compost it and start the next bunch.
Regrown Celery FAQs
Will a regrown celery base grow a new bunch?
No. A regrown base grows leaves, not a new bunch. Iowa State University Extension describes the base as a way to grow more leaves, and the University of Illinois Extension describes leaf growth from the center. Moving the base to soil makes the plant more productive, which means more leaves over a longer life. It does not produce thick stalks or a store-style bunch. If full stalks are the goal, grow celery from seed instead.
How long should a celery base stay in water before moving to soil?
About two to three weeks, following Illinois Extension, and only once roots are showing and the center leaves are clearly growing. Some blogs move the base after 7 to 10 days, but those are blog figures. The extension timing gives the base roots to live on in soil. A base moved before it has roots dries out instead of growing.
Can a celery base stay in water forever?
It can stay in water, but not forever, and growth stays modest. Iowa State says you can keep harvesting leaves and maintain clean water about an inch deep in the container. Plain water feeds nothing, so the leaves stay small and the base eventually stops pushing new leaves. Moving the base to a pot of moist soil makes the plant more productive and the project last longer.
What do I do with regrown celery leaves?
Trim them off and eat them. Snip the outer leaves with scissors and leave the center growing point alone, since new growth comes from the center. Chop the leaves into soup or stock, scatter them over salad, or use them as a garnish. When the base stops pushing new leaves, compost it and start a fresh base with the next bunch.
Sources and Further Reading
- Iowa State University Extension, Yard and Garden, “How to Grow Vegetables from Kitchen Scraps: Avocados, Pineapples, Green Onions and More!” (read directly for this guide, published November 6, 2025): celery is grouped with romaine lettuce and bok choi; the basal plate can be used to grow more leaves; preserve the bottom two inches; water covering the bottom inch or so; warm sunny spot; change water every 2 to 3 days to prevent fungal or mold growth; new leaves emerge from the center in several days to weeks and can be trimmed off and eaten; once roots appear, keep harvesting in an inch of clean water or transfer to potting soil, where the plant will be more productive; scrap growing will not replace a weekly grocery trip.
- University of Illinois Extension, Flowers, Fruits, and Frass blog, Brittnay Haag, “Kitchen scrap gardening…regrow your fruits and vegetables!” (read directly for this guide, February 12, 2018): cut about two inches above the bottom; one inch of water maintained at all times; change water every day; roots and leaf growth from the center in a few days; ready to transfer to potting soil after two to three weeks, covering completely except the center leaf tips; home regrowth may not match the aesthetics of store-bought produce.
- University of Illinois Extension, Eat.Move.Save., “Regrowing Scrap Veggies” (read in full for the research report): two sentences for celery, method only; proves the method exists and settles nothing about the outcome.
- The Old Farmer’s Almanac, “Celery: How to Plant, Grow, and Harvest Celery Stalks” (read directly for this guide, updated October 9, 2026): seed-grown celery needs a long relatively cool season; 12 to 18 inch stalks; up to 140 days to harvest; start seed indoors 10 to 12 weeks before the last spring frost; germination in about a week and up to 3 weeks; begin harvest when stalks are about 8 inches tall; full sun 6 to 8 hours; moisture-retentive soil that does not drain too quickly; three critical needs are cool weather, constant water, and soil rich in organic matter; shallow roots; plant outdoors when soil reaches at least 50°F and nights stay above 40°F.
- Evidence note: one secondhand reading was checked and not used. A blog summary attributes a “tuft only” verdict to Iowa State, but the Iowa State page itself does not use that wording, so this guide does not print it as an Iowa State fact. Alibaba-family pages were excluded as evidence entirely.