
How to Grow Sunflower Microgreens
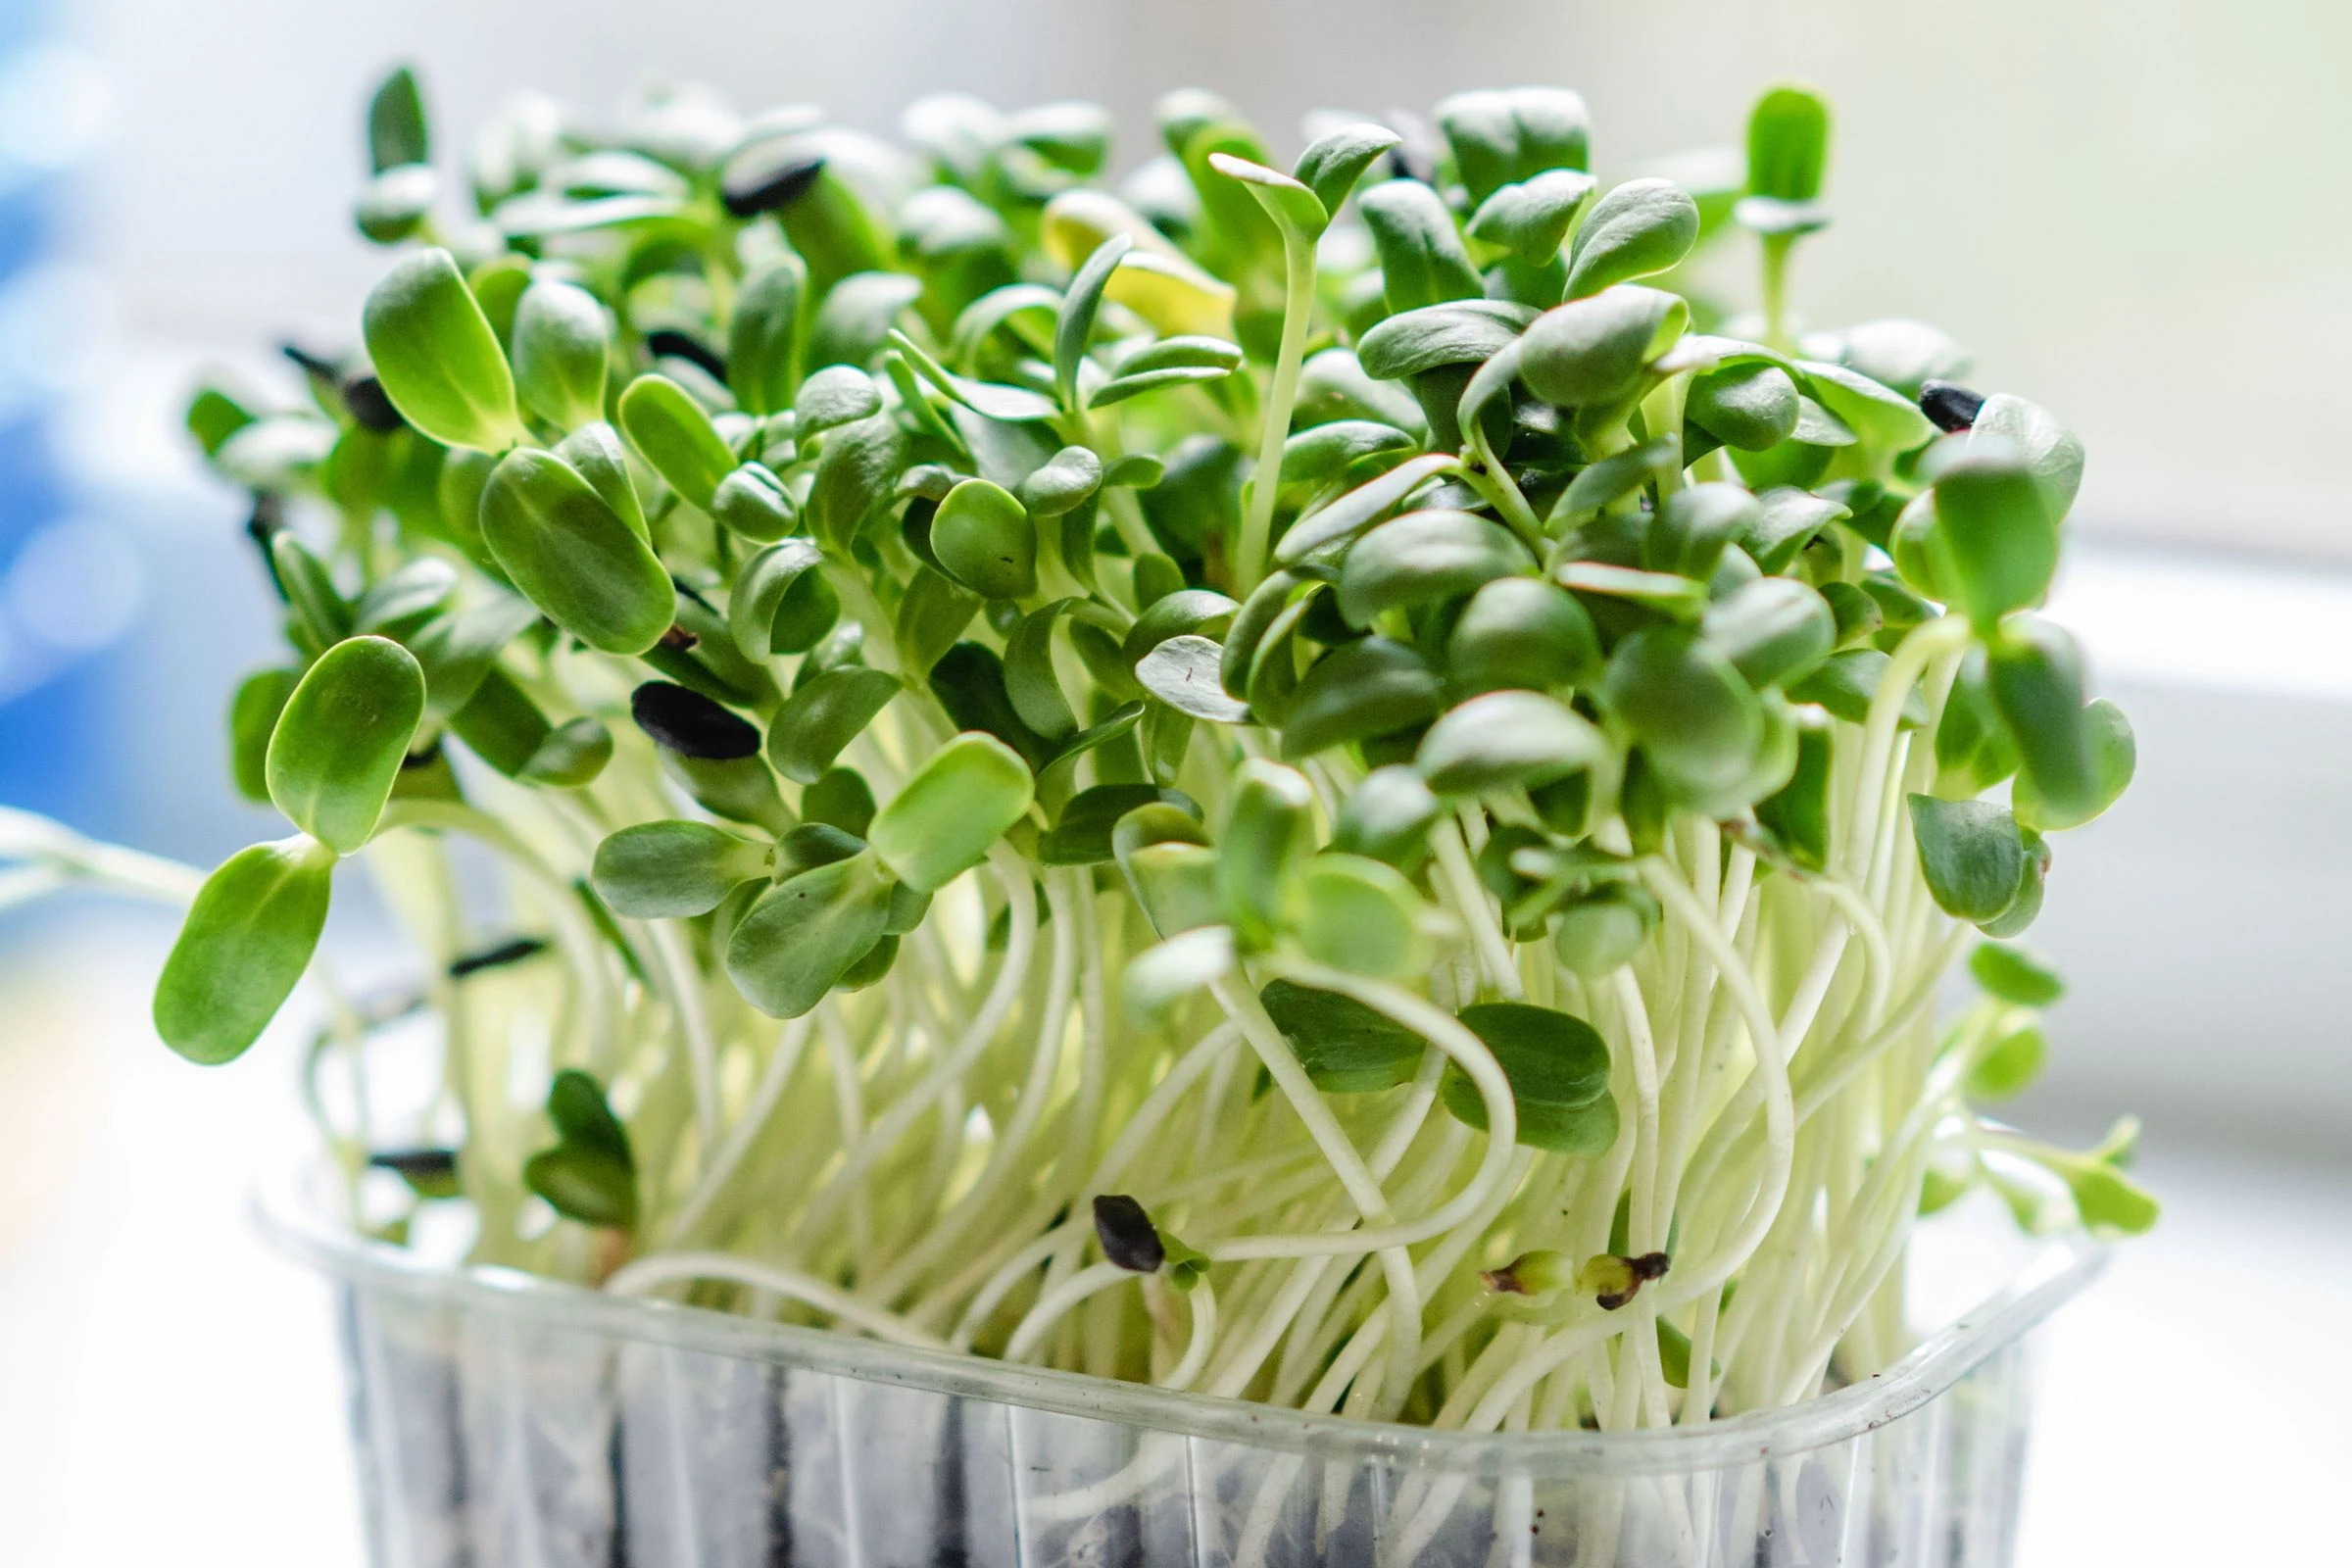
Sunflower microgreens grow into thick, crunchy shoots in about 9 to 10 days, but this crop asks for three steps most microgreens skip: an 8 to 12 hour soak, 3 to 4 days under a weighted cover, and a daily brush to knock the black hulls off the leaves. Get those three steps right and sunflower is one of the most satisfying trays you can grow on a shelf. Miss them and you get the complaints this crop is famous for. Mold. Stuck hulls. Bitter shoots.
This guide covers the sunflower method only: the right seed, an honest seed rate, the weighted blackout in detail, and fixes for the problems this crop is known for.
The Sunflower Method at a Glance
Sunflower runs on a short, strict routine. Here is the whole crop on one card, in order.
Quick start
- Buy the right seed. Black oil sunflower, in the shell, untreated and food grade.
- Weigh the seed. About 120 g for a 10×20 tray. Smaller trays scale by area.
- Soak it. 8 to 12 hours in cool water, held under the surface. Drain well.
- Sow one even layer. Seeds touching on pre-moistened medium, never piled.
- Stack and weight it. Cover tray plus about 5 to 10 lb, in the dark for 3 to 4 days. Mist daily.
- Uncover into strong light. Bottom water from here on, and run a small fan.
- Brush the tops daily. This is how the last hulls come off.
- Cut at the right stage. Day 9 to 10, at 3 to 4 inches, before the first true leaves.
Germination takes 2 to 3 days, and the flavor at the end is nutty and slightly sweet.
What You Need
You need the standard microgreen kit plus one extra tool: weight. Gather a shallow tray with drainage holes and a solid tray underneath, fine seed-starting mix, black oil sunflower seed, a spray bottle, a small fan, and clean scissors. For the weight, use a paver stone, a brick, or heavy books.
Tray choice, medium depth, and the rest of the basic setup live in our complete guide to growing microgreens at home. This article spends its space on what changes when the crop is sunflower.
Start With the Right Seed: Black Oil, In the Shell
Buy black oil sunflower seed, still in its shell, sold for sprouting or microgreens and labeled untreated. Seed choice decides half of your hull problem before you even sow, so it comes first in this guide.
Black oil vs. striped seed
Black oil seed is the microgreen standard for good reasons. Growers breed it for uniform, reliable germination. Its hull is thinner than the hull on striped seed, and a thinner hull splits and sheds more easily under the weighted cover. Striped and confection seed is the eating type, sold for shelling and snacking. Its thick hulls cling harder and leave you picking shells off leaves at harvest.
Why hulled seed and bird seed fail
Hulled seed does not make proper microgreens. Raw sunflower kernels germinate very poorly, and the few that sprout stay short and weak. Bird seed is a gamble. It can be old, dusty, or treated, and germination runs uneven. Buy fresh, food grade seed from a sprouting or microgreen supplier, and store it cool and dry.
Same seed, two crops. Black oil seed is also sold for jar sprouts. Sprouts grow in plain water and are ready in 2 to 3 days, roots and all. Microgreens grow in a tray and you cut the shoot. The difference between microgreens and sprouts explains how to choose between the two methods.
How Much Seed: The Sunflower Rate, Honestly
Start with about 120 grams (4.2 oz) of seed on a standard 10×20 tray, spread in one even layer with the seeds touching but never piled. Read the next part before you treat that number as settled, though. Sunflower has the widest seed rate disagreement in the whole microgreen world, and you deserve to see it.
Why published rates run from 48 g to 250 g
The honest answer is that sources do not agree, and the spread is huge. Utah State University Extension lists sunflower at 48 grams per tray, the sparse end of the range. Working growers cluster much higher. Commercial growers and grower guides land around 120 to 150 grams. Bootstrap Farmer’s microgreen cheat sheet lists sunflower at 150 grams. Some sellers go as high as 250 grams.
The gap is a philosophy difference, not a typo. A sparse tray buys airflow and a wide margin against mold. A dense tray buys yield per tray, paid for with crowded stems and higher mold risk. Home growers rarely need that trade.
A practical starting point
About 120 grams sits where independent working growers land, and it suits a home tray well. The stand comes up thick and even, and air still moves between the stems. Weigh the seed for your first trays. After a tray or two, nudge the rate up for yield or down for safety.
Scaling down for a small home tray
Smaller trays scale by area. A 10×20 tray has about 200 square inches of surface. A 10×10 has half that area, so it needs about 60 grams at the starting rate. A little 5×5 has an eighth of the area, so it needs about 15 grams. Prefer the sparse extension approach? Scale the 48 gram rate the same way: about 24 grams for a 10×10 and about 6 grams for a 5×5. These small tray numbers are area math, not quoted rates.
Too dense vs. too sparse: what each looks like
Sow too densely and the seed piles into mounds. The crowded mat traps moisture against the stems, mold moves in, and the shoots stretch thin and weak. Sow too sparsely and you get bare patches, a wispy harvest, and edges that dry out while the middle stays wet. The target is one even layer with full coverage and no piles. If you can see medium showing through in streaks, add a pinch more seed. If seeds sit on top of seeds, take some off.
Step 1: Soak the Seed
Soak the seed in cool water for 8 to 12 hours, then drain it well and sow the same day. Sunflower is a large, hard seed. The soak softens the hull and wakes the seed up, so the tray germinates together instead of in waves.
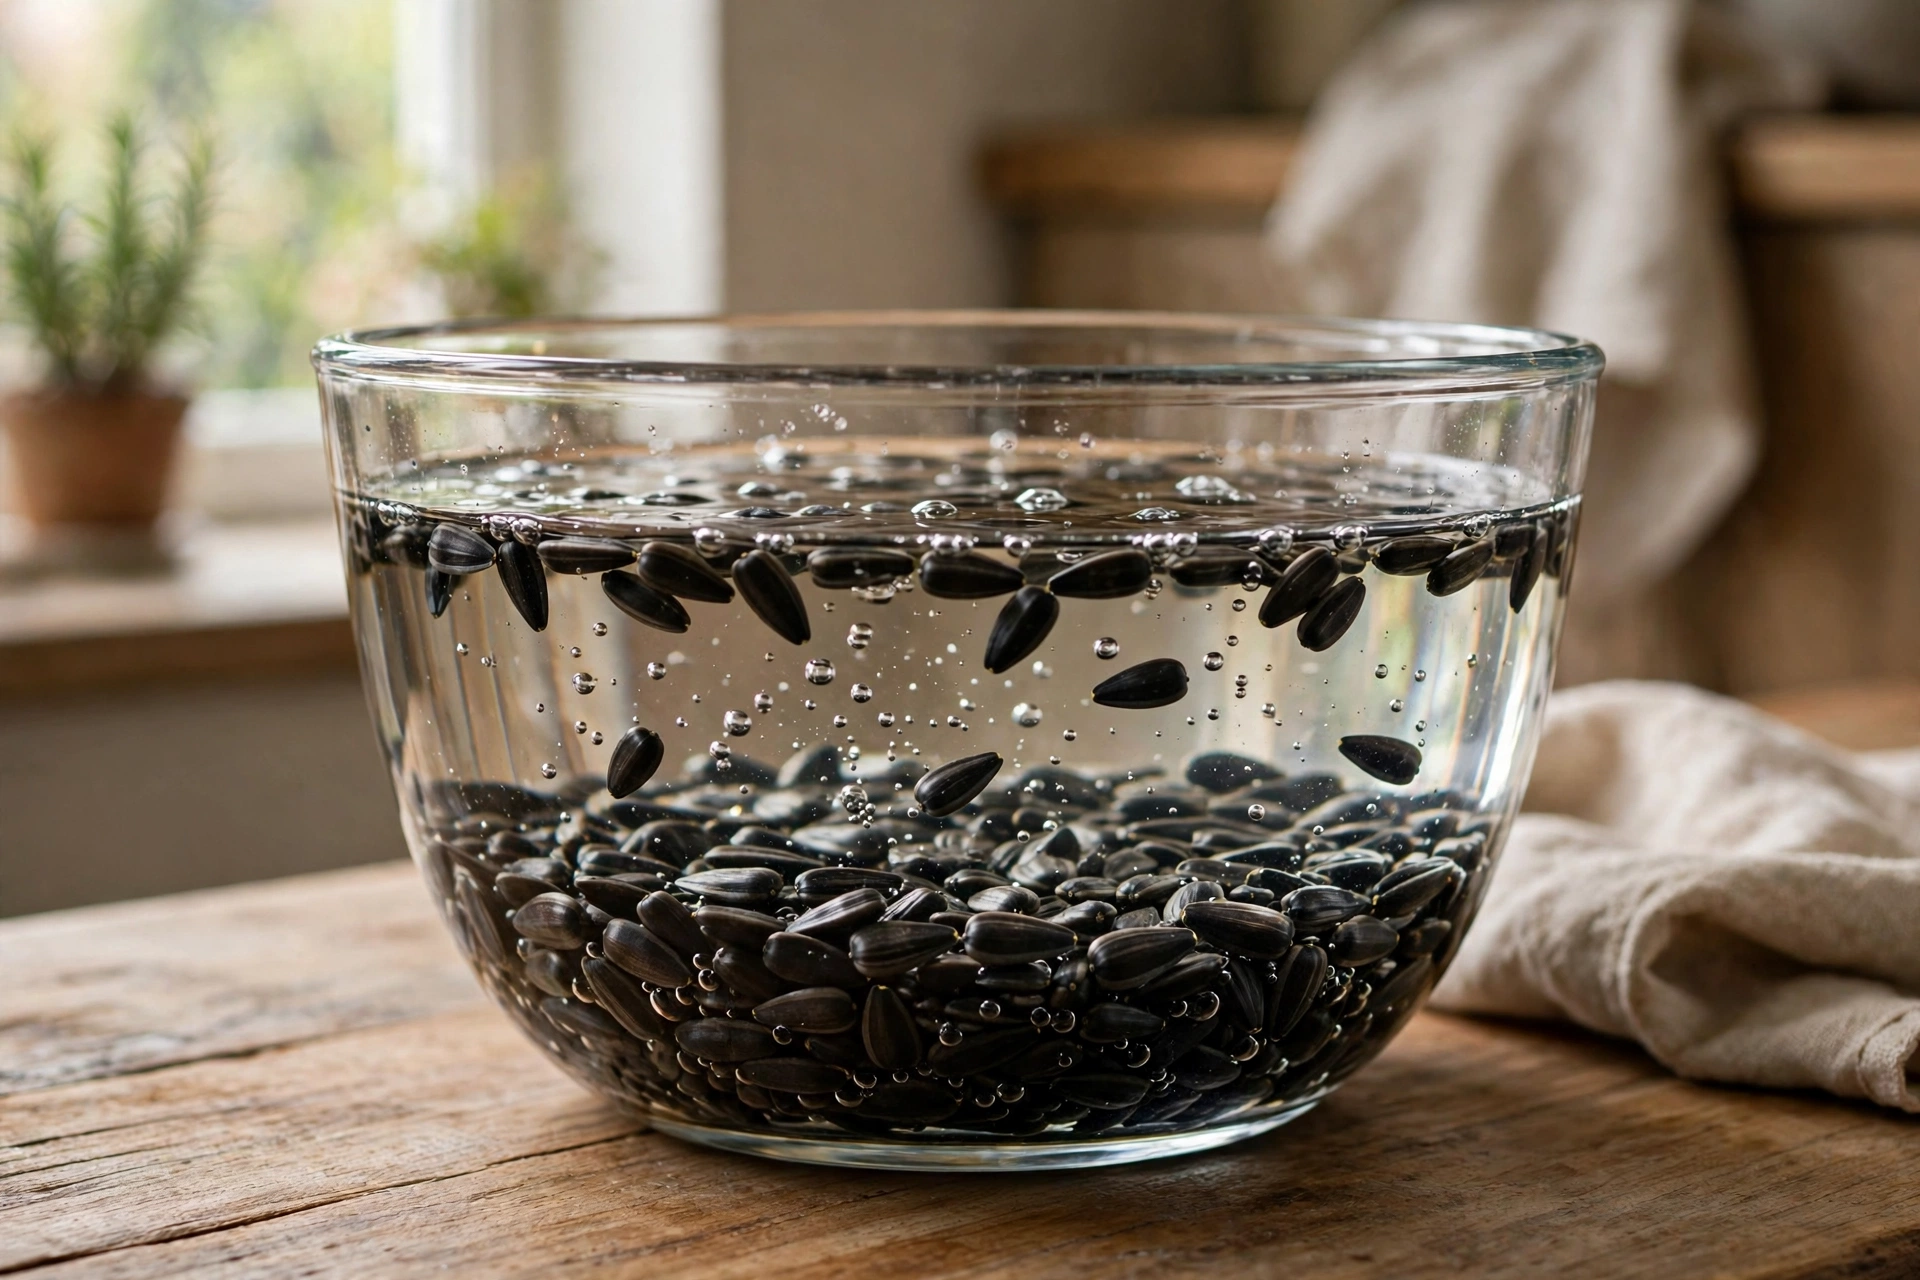
Rinse the seed first under running water. Put it in a bowl with plenty of cool water. Sunflower seed floats, and the seeds at the top of the bowl soak the least, so weigh them down with a small plate or a mesh strainer. Utah State University Extension lists a flat 12 hour soak for this crop, and most grower guides fall inside the 8 to 12 hour band. One major seed supplier, True Leaf Market, gives a shorter 3 to 6 hours for its black oil seed. Follow your supplier’s packet if it gives a time, and stay inside the band either way.
Two warnings belong with the soak. First, do not stretch it. Seed left in warm water well past the stated time can sour, and a sour soak raises the mold risk for the whole tray. Second, drain thoroughly. Wet seed clumps as you sow it, and clumps grow into bare patches. One honest footnote: On The Grow, an experienced grower source, reports the same germination without soaking after side by side trials. That is one grower’s trial result, not the standard advice. Soak your first trays.
Step 2: Sow in One Even Layer
Scatter the drained seed over pre-moistened medium in one even layer, seeds touching, and press it down gently. Fill the tray with about an inch of fine mix, level it, and water it before any seed goes down. The surface should feel like a wrung-out sponge. Use a fine seed-starting mix, never soil dug from the garden. It wets evenly and stays clean, and our guide to the best soil mix for vegetables in pots explains what each mix ingredient does.
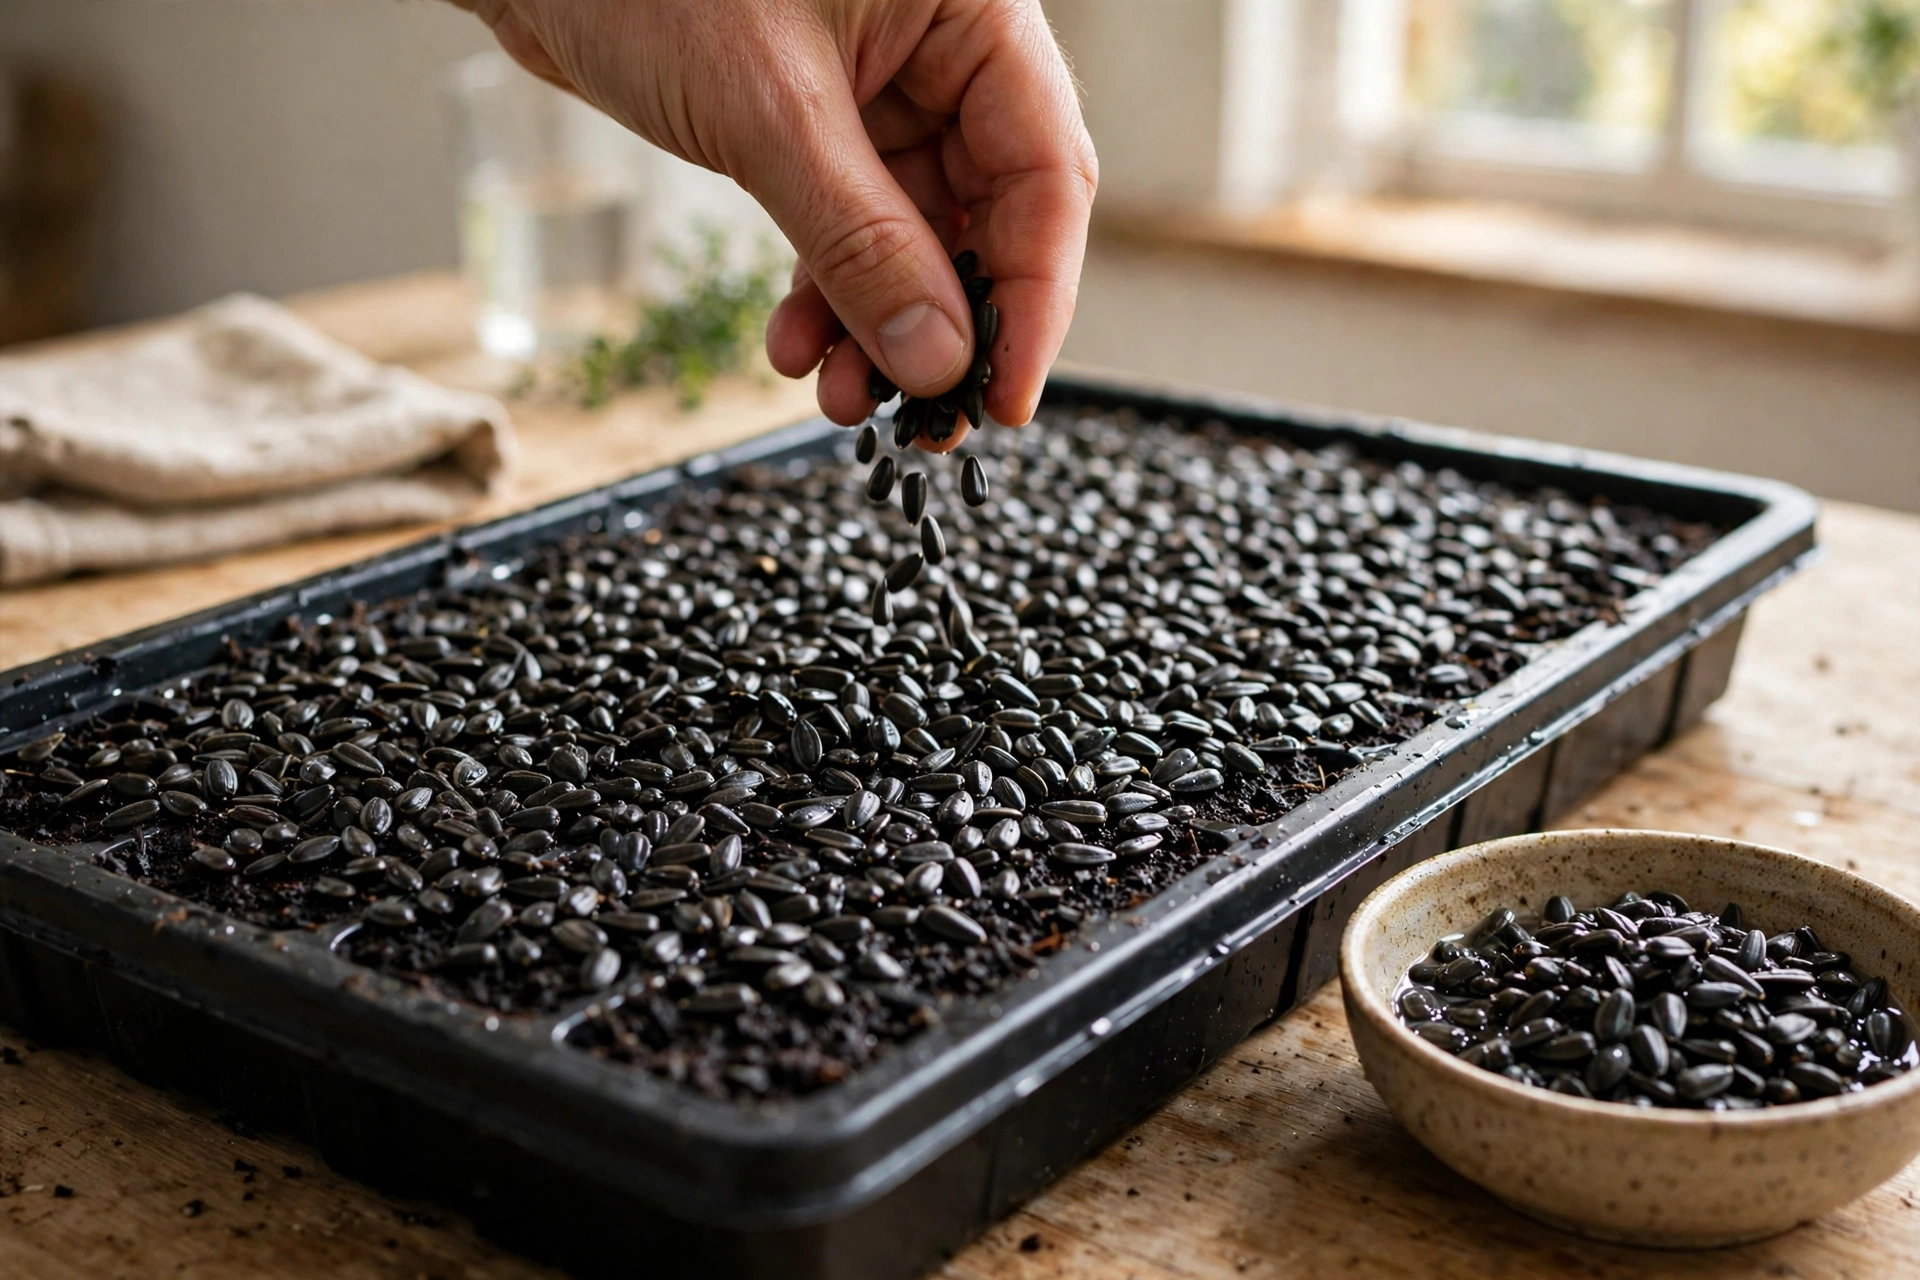
Scatter the seed in two passes, half in each direction, so the coverage evens out. Press it lightly with your palm so every seed touches the medium. Skip the soil cover some sellers suggest. The weighted tray in the next step does that job, and surface-sown seed gives you cleaner greens. Mist the sown tray well.
Step 3: The Weighted Blackout, Where the Hulls Come Off
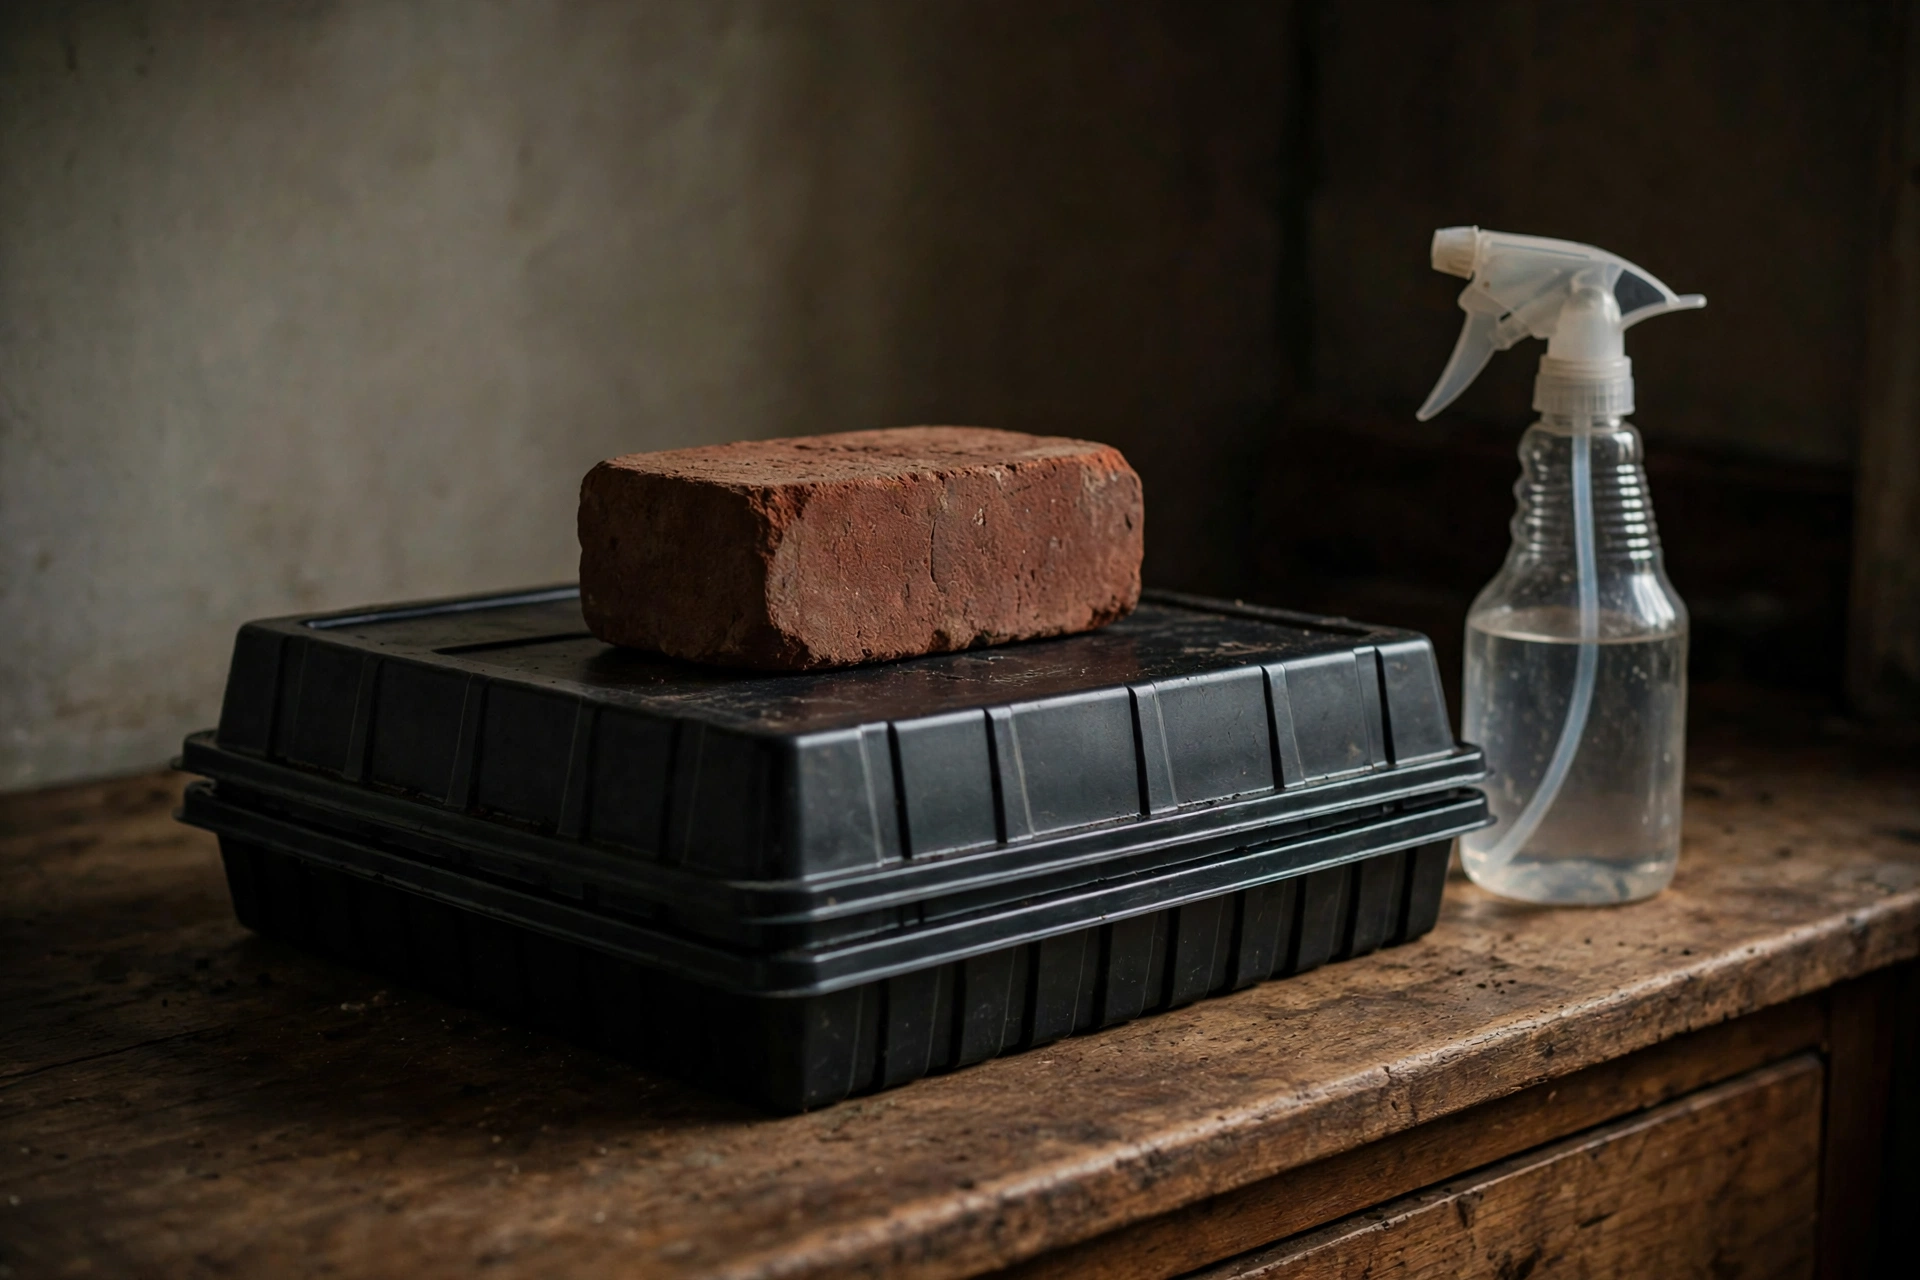
Set a second tray directly on the sown seed, add weight on top, and leave the stack in the dark for 3 to 4 days. This is the signature sunflower step. Radish grows under a plain cover. Sunflower needs pressure.
How to stack and weight the tray
Nest an empty tray right on the seed surface. Put your weight in it, spread evenly: a paver stone, a brick, or heavy books, totaling about 5 to 10 pounds for a 10×20 tray. Scale down for small trays. One heavy book is plenty for a 10×10. Utah State University Extension uses a lighter hand: 2 to 5 pounds on the seeds for the first half of the dark period, then the cover tray flipped into a dome for the second half. Both methods work. The home stack is simpler to manage.
What the weight is actually doing
The weight does two jobs at once. First, it pushes the young roots down into the medium. Without pressure, a sprouting seed can heave itself up and dry out on the surface. Second, it handles your hulls. Each shoot pushes against the cover as it grows, and that friction splits the black hull. The empty hull stays behind, low in the tray, while the green cotyledons lift free. A tray grown under weight comes up mostly clean. A tray under a loose lid comes up wearing its shells.
Mist while covered, and uncover on time
Lift the stack once or twice a day and mist the surface so it never dries out. Roots emerge in about 2 to 3 days. Uncover on day 3 or 4, when the shoots lift the cover evenly and stand an inch or so tall. Do not leave the weight on longer out of caution. The dark period is designed to make shoots stretch, and overshooting it is how you get the leggy tray below.
Getting the Hulls Off
Most hulls should already be off, thanks to the weighted blackout. The rest come off with a little water, a daily brush of your hand, and a final pick at harvest. A few clinging hulls are normal for this crop. Every sunflower grower hand cleans at the end. It is part of the crop, not a failure.
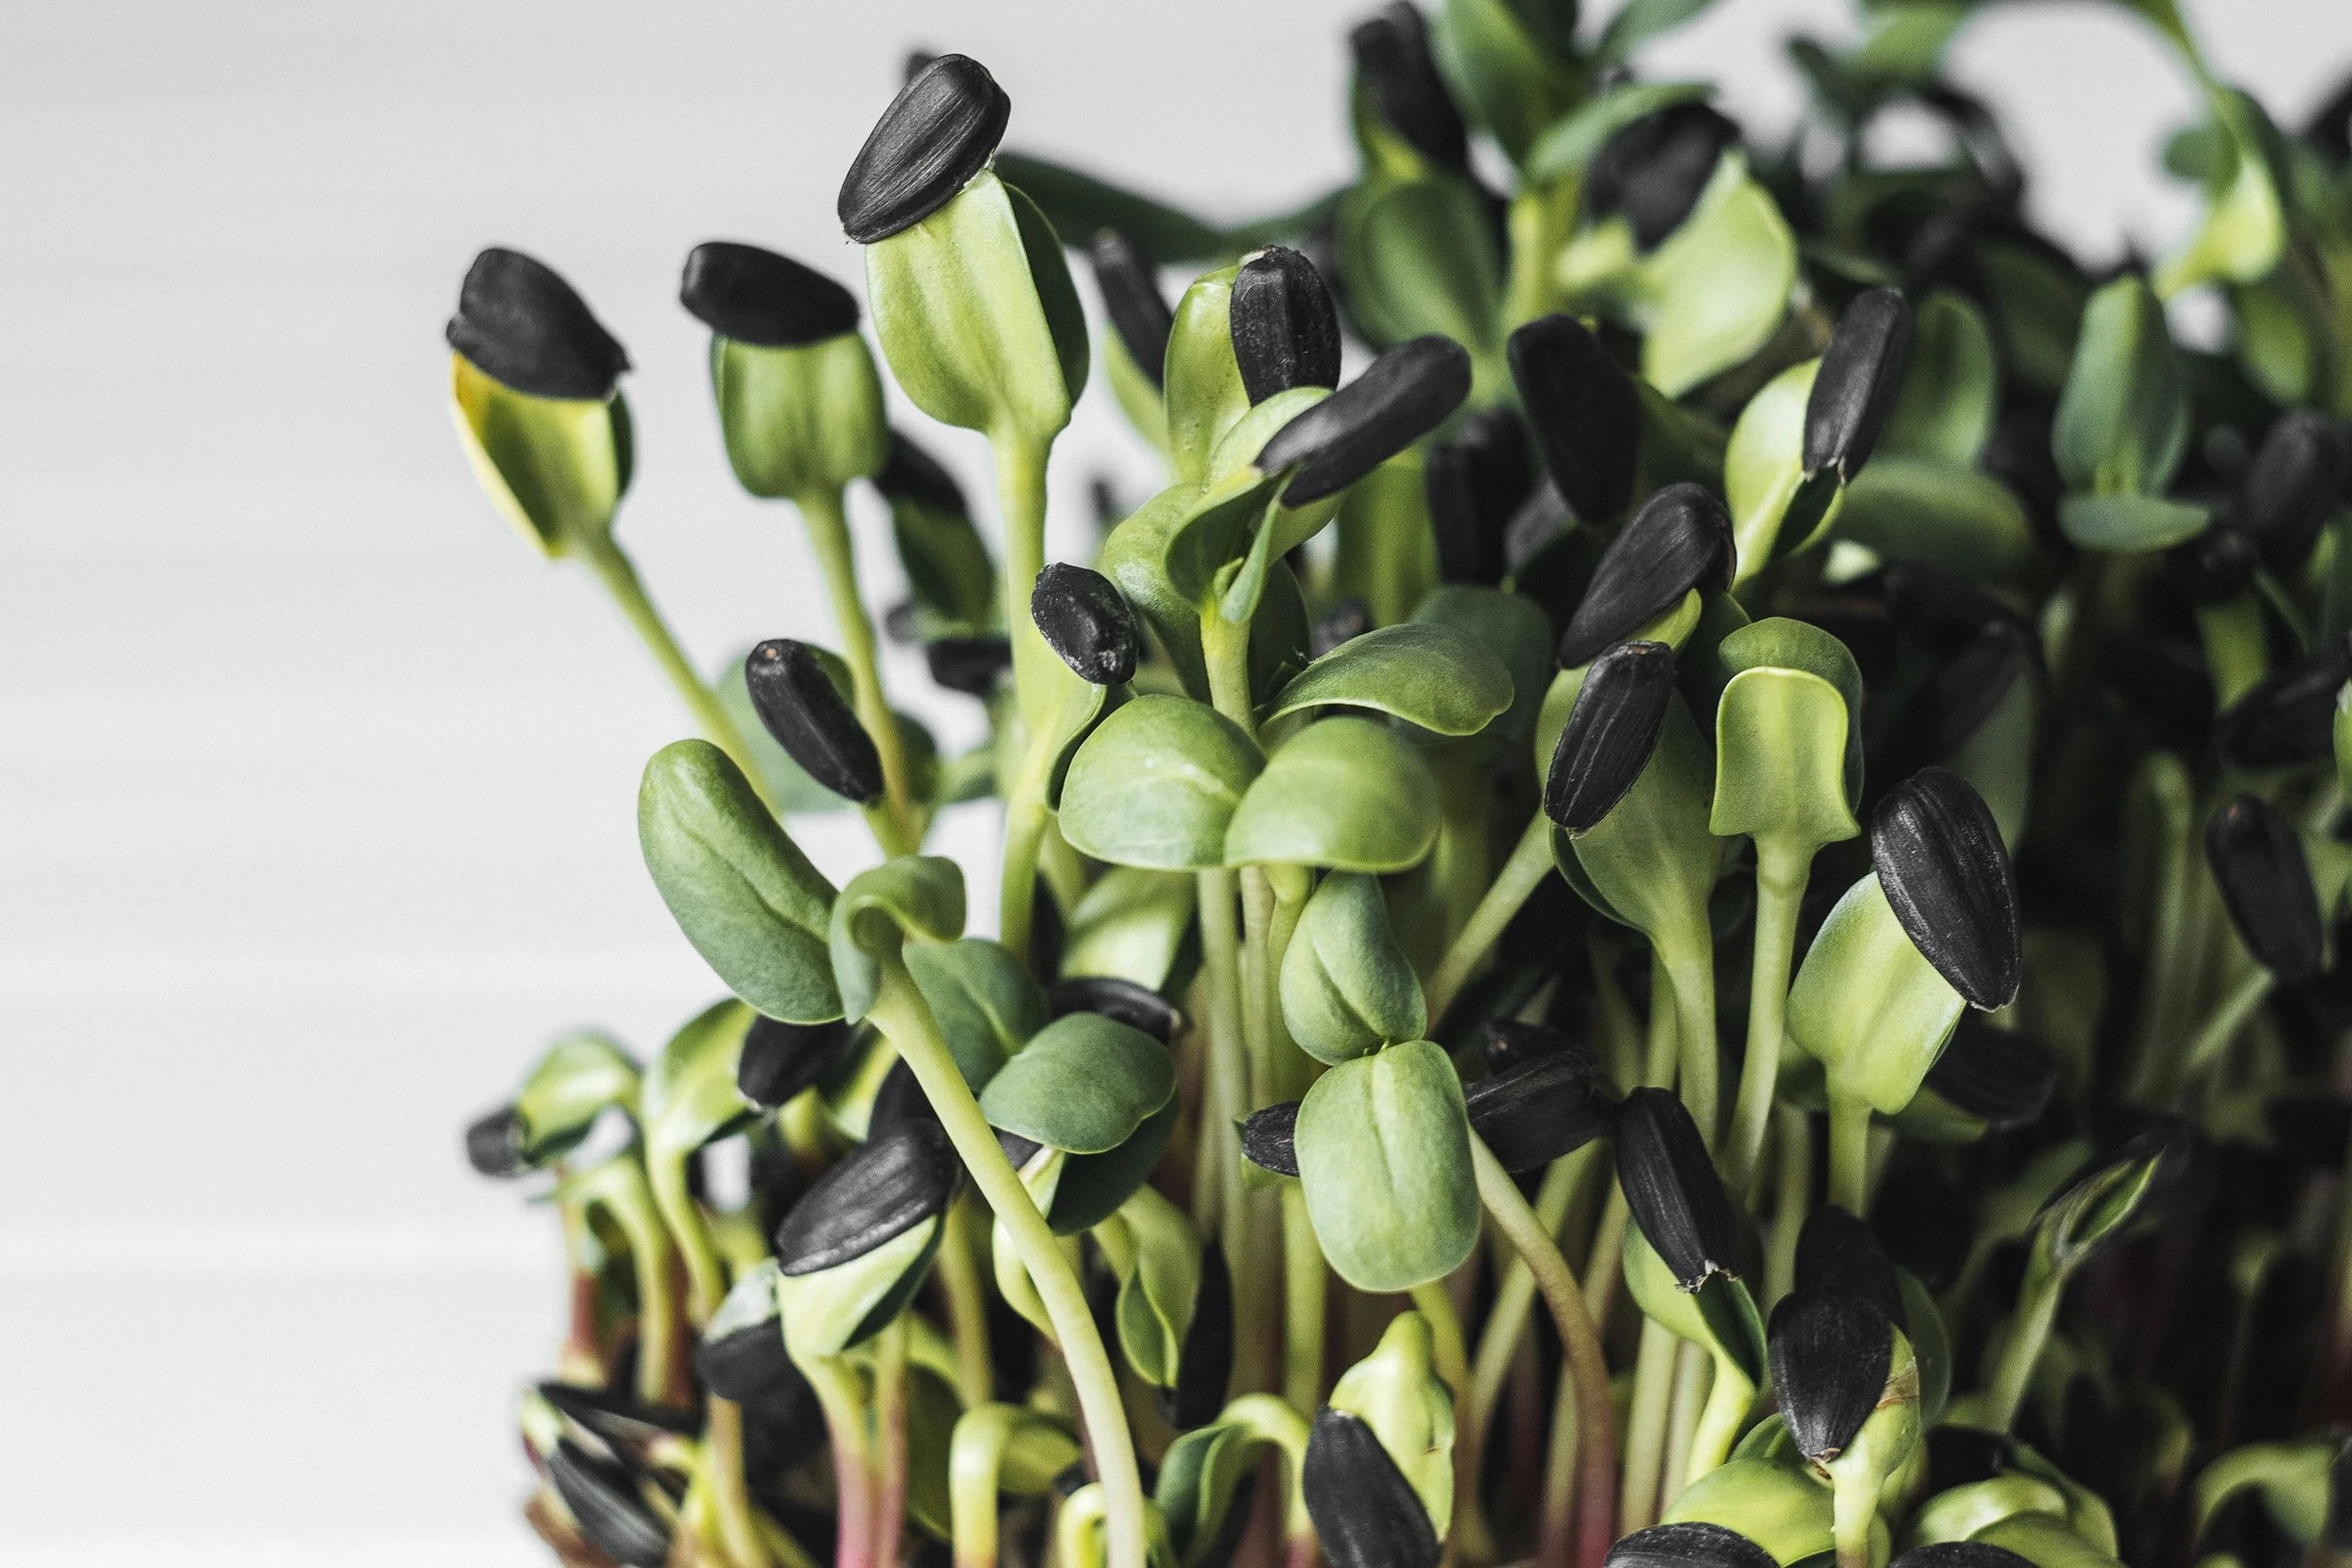
Start during the light phase. Mist the tray lightly, wait a few minutes for the hulls to soften, then brush your palm flat across the tops. Loose hulls pop off and fall. Repeat once a day. Humidity late in the blackout helps too. Damp hulls slip more easily than dry ones. If one shoot cannot free its leaves after a couple of days in the light, pull that shoot. A trapped leaf pair stalls, and a stalled shoot in a damp tray invites mold.
At harvest, pick or rub off whatever hulls remain as you cut, working over a bowl so the shells do not land back on the greens. Wash the cut shoots right before you eat them, not before storage.
Step 4: Into the Light, and How to Water
Move the tray into strong light the moment you uncover it, and switch to bottom watering from here on. The shoots green up fast in the light. Your job now is steady moisture, dry leaves, and moving air.
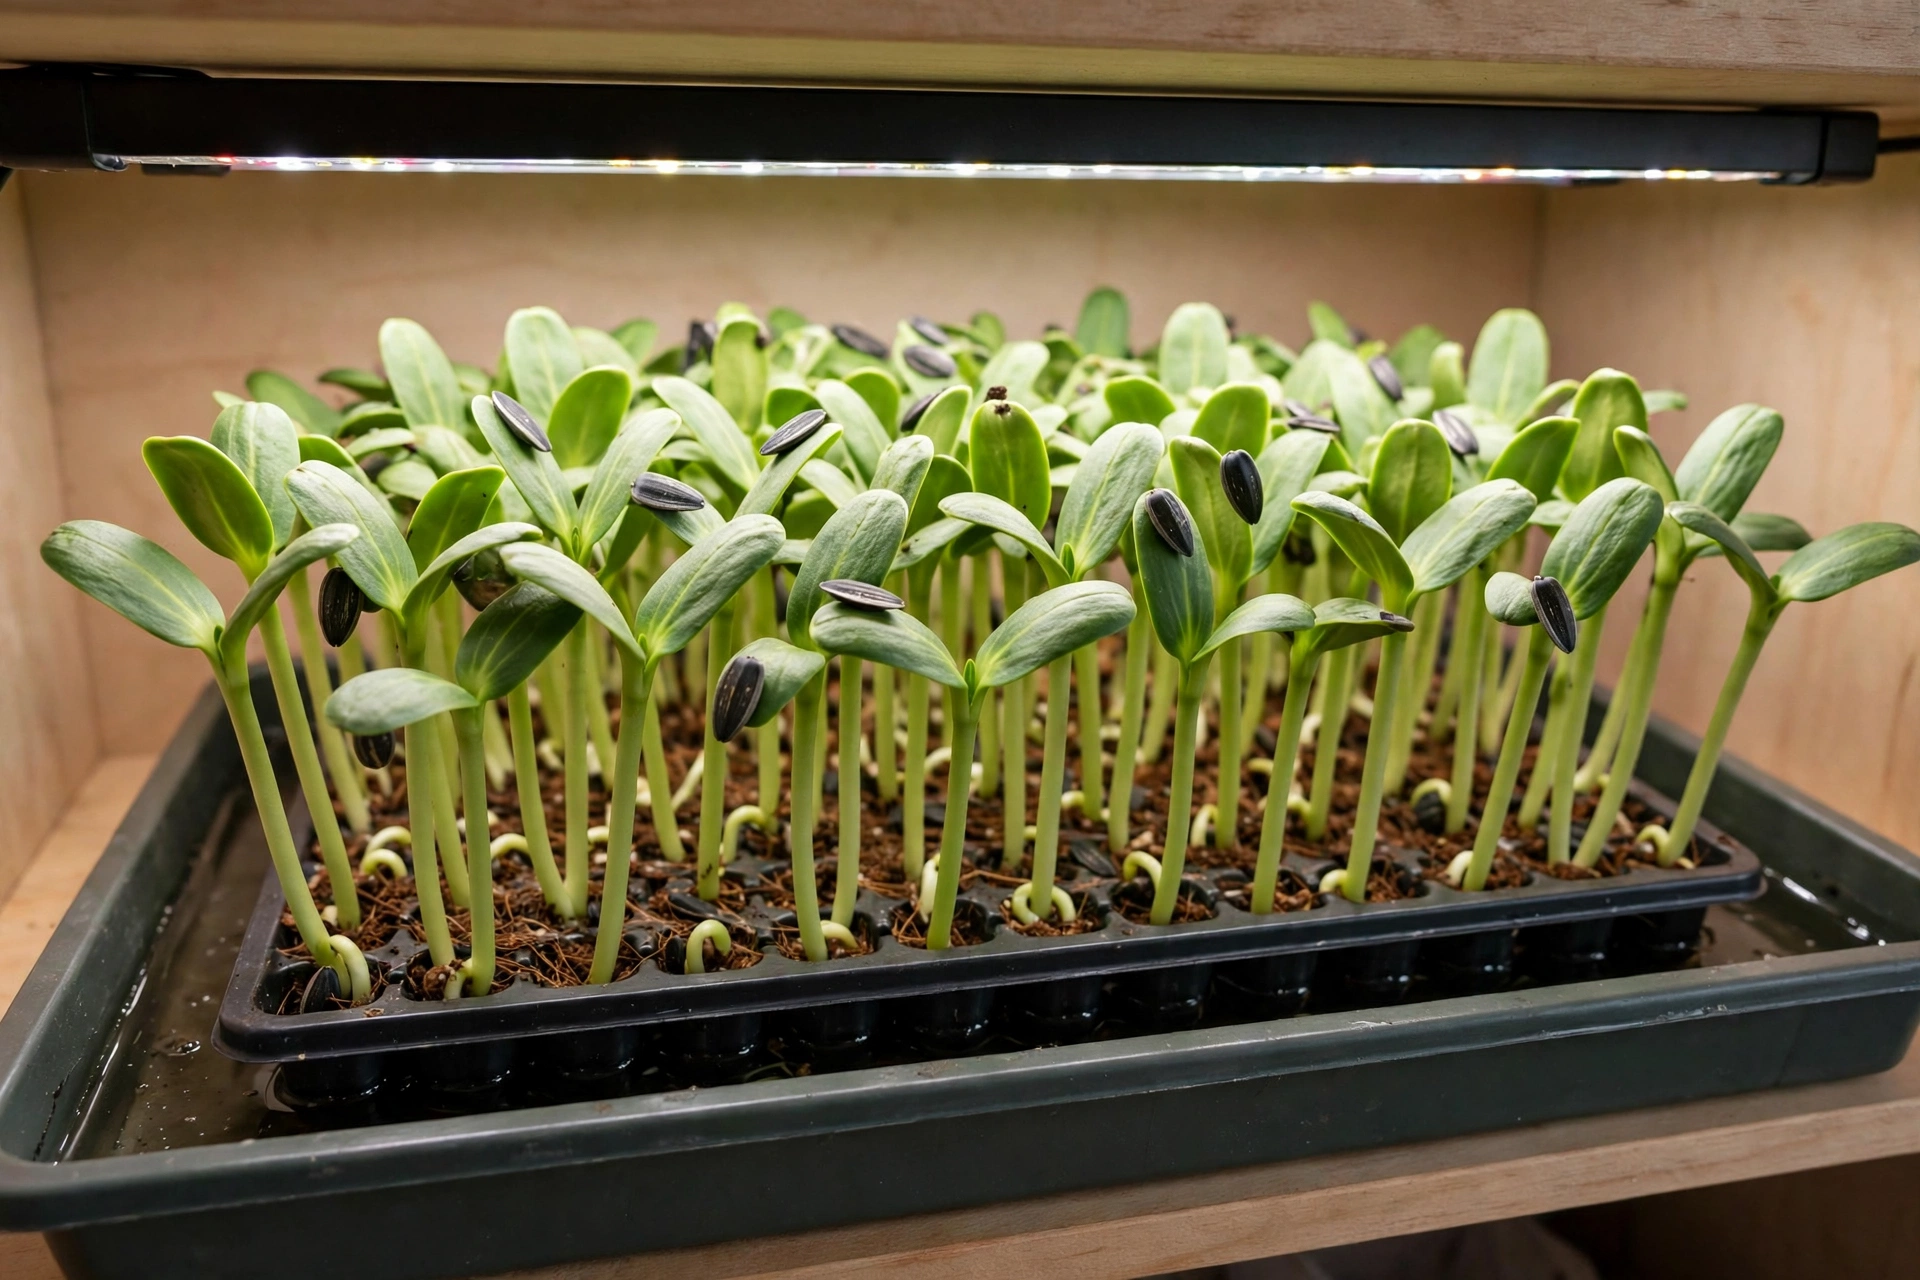
Give the tray 12 to 16 hours of strong light a day. A simple LED bar a few inches above the leaves beats a windowsill for even growth, and our guide to how much sunlight indoor herbs need shows how to judge a window honestly. Run a small fan nearby. Airflow firms the stems up and makes life hard for mold. A shelf and one LED bar will run tray after tray of shoots, and the same setup carries an indoor herb garden through the winter.
For water, pour it into the solid tray underneath and let the medium wick it up. Tip out whatever still stands after 10 to 15 minutes. Keep the medium evenly moist, never soggy, and keep the leaves and remaining hulls as dry as you can. Bottom water is the default for this crop. Save misting from above for the hull routine.
The Days in Order: Soak to Harvest
Sunflower changes slowly for three days, then all at once. Walk through the crop in order, and compare your tray against each stage:
- Day 0, soak and sow. Soak the seed 8 to 12 hours. Drain it, sow one even layer, mist, stack, and add weight.
- Days 1 to 3, germination under weight. Roots emerge around day 2 to 3. Mist once or twice a day so the surface stays moist.
- Days 3 to 4, uncovering. The shoots push the cover up. Remove the weight, move the tray into strong light, and start bottom watering.
- Days 5 to 7, green-up. Cotyledons open and turn deep green. Brush the tops once a day to help the hulls drop.
- Days 8 to 10, harvest window. Shoots stand 3 to 4 inches with cotyledons fully open. Cut around day 9 to 10, before the first true leaves develop.
When and How to Harvest
Cut when the cotyledons stand fully open and plump, before the first true leaves develop. For most trays that lands on day 9 to 10, at 3 to 4 inches tall. Stage is the rule and the calendar is the backup. Published timings across sources run from 7 to 12 days, because variety, warmth, and light all move the date. The leaves never lie.
Why the rush? The first true leaves on sunflower are rough and hairy, and the flavor turns bitter once they take over. A tray cut in the cotyledon window tastes nutty and sweet. The same tray cut four days later tastes like a chore. Watch the middle of the plant, where the two smooth seed leaves meet. The moment a different, crinkly leaf forms there, harvest that day.
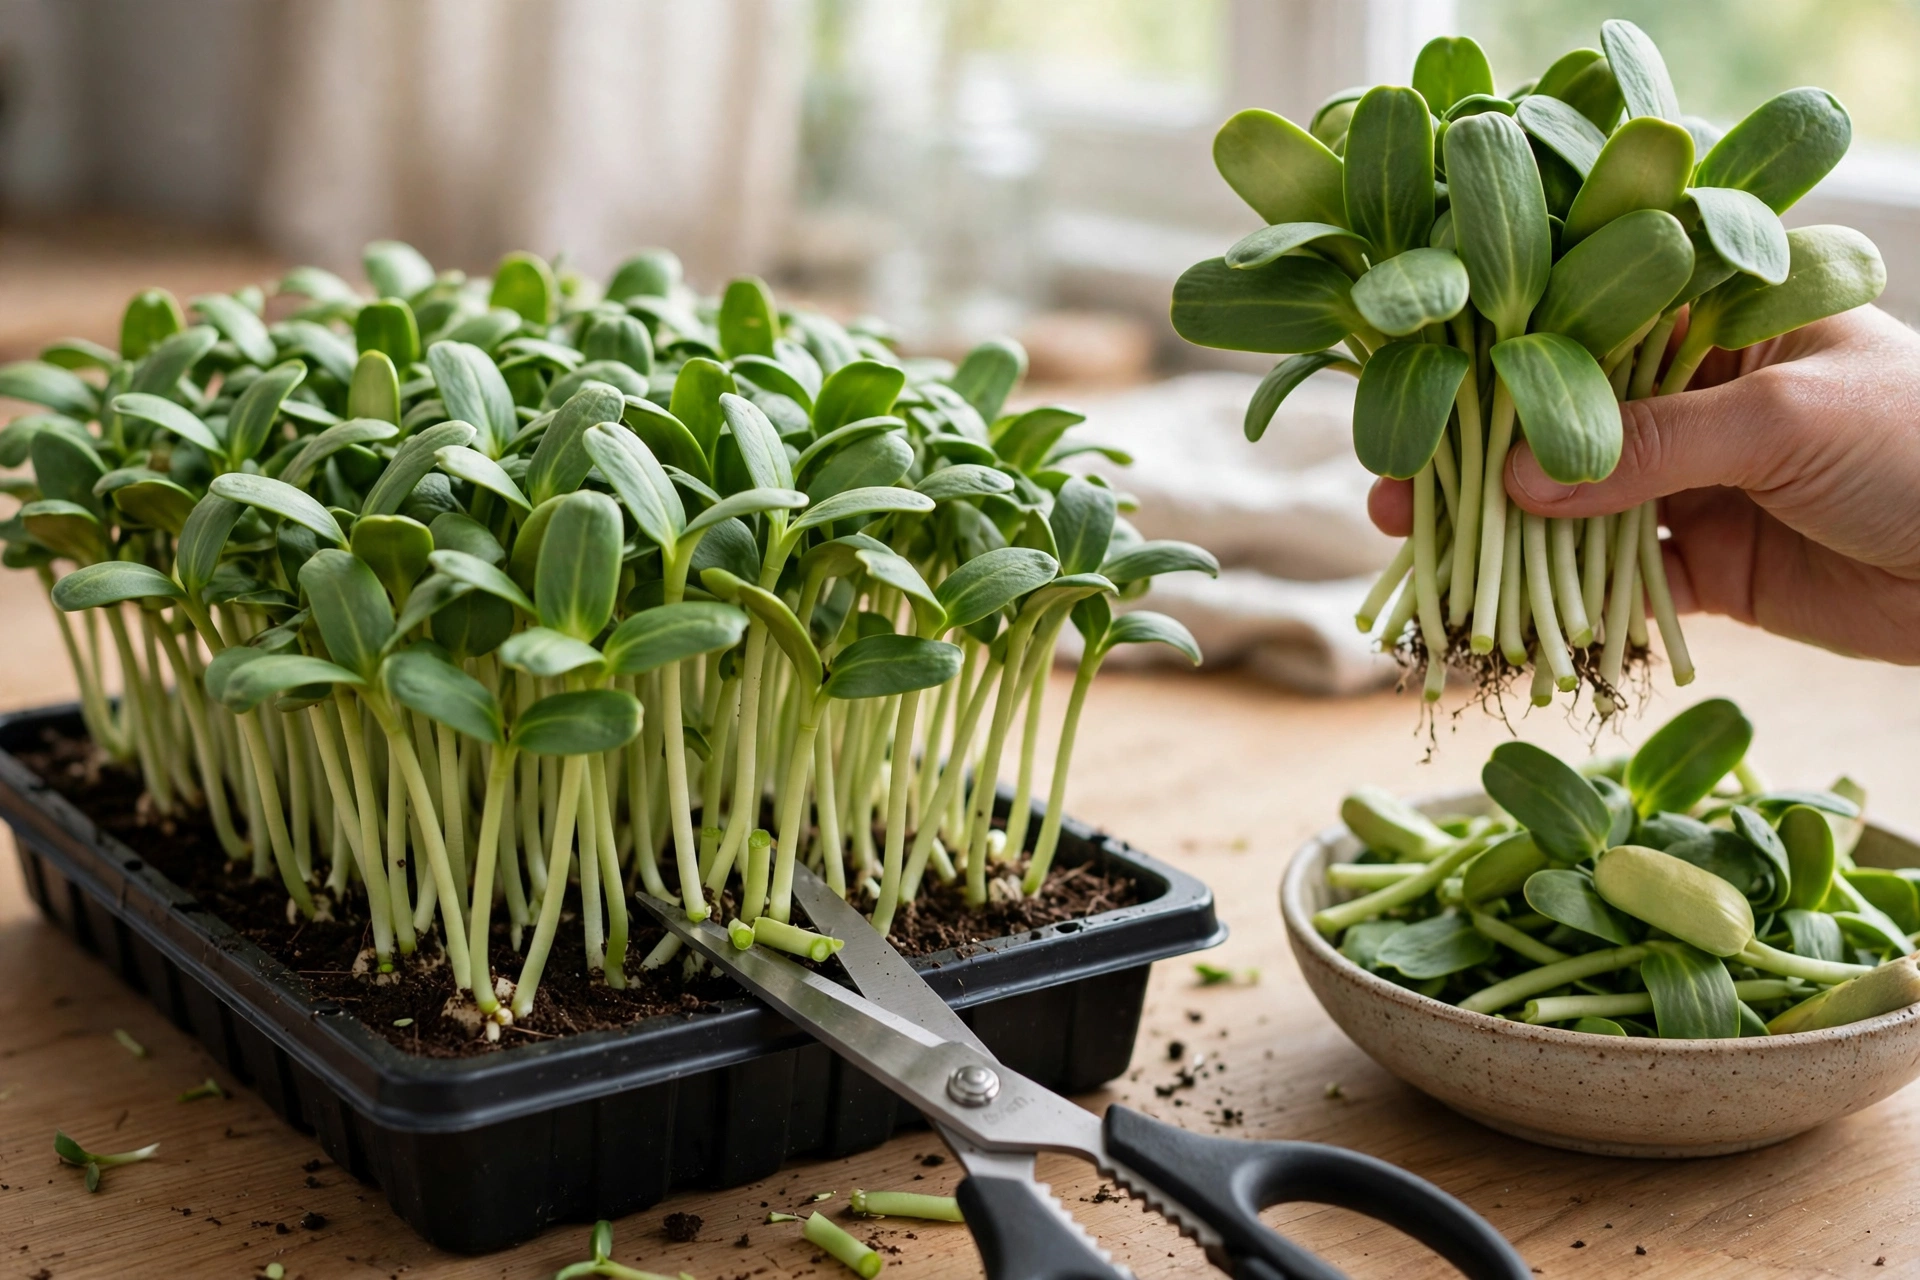
To harvest, hold a small bunch of stems and cut just above the medium with clean scissors, working across the tray. Keep the cut greens dry. Store them unwashed in an airtight container lined with a paper towel in the fridge, and wash them right before use. They keep about 5 to 8 days that way. Discard any that turn slimy or smell off.
Set yield expectations honestly. Experienced growers report roughly 400 to 600 grams (about 1 to 1.3 pounds) from a full tray sown at dense commercial rates. A home tray at the 120 gram starting rate lands below that range. You still get generous handfuls of the most substantial shoot you can grow.
A cut tray does not regrow. The growing point leaves with the harvest. Compost the root mat and sow a fresh tray every 7 to 10 days for a steady supply. Rotate crops and the shelf never sits empty: follow a sunflower tray with our step by step radish microgreens guide. Radish needs no soak and no weight, and it finishes in 7 to 10 days, so the two crops trade places tray after tray. For the full picture beyond this crop, our guide to how long microgreens last compares the honest day ranges crop by crop.
What Do Sunflower Shoots Taste Like?
Nutty and slightly sweet, with a thick crunch and real substance. Sunflower is less a garnish and more a base green. The stems are thick and juicy, and a handful can carry a salad, a sandwich, or a grain bowl on its own. Eat them for the crunch and the flavor. They are a nutrient dense green for their size. That is the whole benefits note. The precise nutrient tables sellers print for these shoots cannot be verified against a primary record.
This guide keeps flavor short on purpose. In the kitchen, pair the shoots with soft herbs you already grow. Basil or chives from our list of the best herbs to grow on a windowsill sit well beside them in salads and sandwiches. For the full comparison, with pairings by dish, compare sunflower with other types of microgreens in our varieties guide. One warning belongs here, though: bitterness is not part of this crop’s character. If your shoots taste bitter, the harvest ran late.
Common Sunflower Problems
Sunflower fails in predictable ways. Nearly every bad tray traces back to the soak, the seed density, or the calendar.
Mold on the tray
Sunflower is a high mold risk crop, and the soak is part of the story. The seed can carry dormant mold spores, and the soak can wake them along with the seed. A long warm soak, thick sowing, wet leaves, and still air give mold everything it wants. Prevent it instead: buy clean food grade seed, rinse the seed before and after soaking, start with a clean tray, respect the soak time, sow one even layer, run the fan, and bottom water. Fine white hairs on the roots in the first days are root hairs, and they are normal. Mold looks webby and smells musty. If a tray molds, discard the whole crop, sanitize the tray, and sow again.
The full mold guide is here: why microgreens get moldy and how to prevent it.
Hulls still stuck at harvest
A tray that reaches harvest wearing its hulls usually skipped a step: too little weight, a dry uncovering, or no daily brushing. Work the fix from the hulls section above as you cut: mist, soften, brush, then pick. Next tray, check your weight first. Hull trouble is almost always a blackout problem that shows up late.
Patchy or uneven germination
Bare patches usually start in the soak bowl. Floating seed at the top soaks the least and germinates the latest. Uneven scattering does the same damage from the other side. Black oil seed is not size sorted, so some size variation is normal. Fix the process: keep the seed held under the water, scatter in two passes, keep the temperature steady, and buy fresh seed each season.
Leggy, pale shoots
Stretching means the dark period ran long, or the light after uncovering is too weak. The blackout is designed to make shoots reach. Leave the weight on a day too long and the reach becomes a fall. Uncover on day 3 or 4, move the tray straight into strong light, and keep the air moving so stems firm up. A badly stretched tray rarely recovers. Cut it young or compost it and resow.
Bitter-tasting shoots
Bitterness means you harvested too late. Once the first true leaves develop, the flavor turns. There is no fix for that tray, and it will not sweeten again in the fridge. Compost it, sow the next tray, and cut in the cotyledon window next time.
Frequently Asked Questions
Do sunflower microgreen seeds need soaking?
Yes, for most home growers. Soak the seed in cool water for 8 to 12 hours before sowing. Utah State University Extension lists 12 hours. One supplier gives a shorter 3 to 6 hours, and one experienced grower skips the soak after his own trials. The standard advice stays: soak.
How much sunflower seed do I need for a 10×20 tray?
Start near 120 grams (about 4.2 oz), spread in one even layer. Published rates run from 48 grams (Utah State University Extension) to 250 grams from some sellers, with working growers around 120 to 150 grams. Scale by area for smaller trays: about 60 grams for a 10×10, about 15 grams for a 5×5.
Why are the black hulls stuck to my sunflower shoots?
The shoots did not get enough pressure or moisture to shed them. A weighted blackout makes the growing shoot split its hull against the cover. For a tray already in the light, mist it, let the hulls soften, and brush your palm across the tops once a day. Pick off the last few by hand at harvest. A few remaining hulls are normal.
How long do sunflower microgreens take to grow?
About 9 to 10 days from sowing to harvest in a typical warm room. Germination takes 2 to 3 days under the weighted cover. Across sources and conditions the full range runs 7 to 12 days, so judge by stage: cotyledons fully open, before the first true leaves.
When is the right time to harvest sunflower shoots?
When the cotyledons stand fully open and plump and the shoots are about 3 to 4 inches tall, before the first true leaves develop. That is usually day 9 to 10. Do not wait for the true leaves. They are rough and hairy, and the flavor turns bitter.
Why do my sunflower shoots taste bitter?
They were cut too late. Once the first true leaves grow in, sunflower turns bitter, and that tray will not sweeten again. Compost it and sow a fresh tray. Next time, cut in the cotyledon window.
Why is there mold on my sunflower tray?
Sunflower seed can carry dormant mold spores that wake up in the soak, and dense sowing, wet leaves, and still air finish the job. Rinse the seed before and after soaking, respect the soak time, sow one even layer, bottom water, and run a fan. Discard a moldy tray and sanitize it before reuse.
Will a cut sunflower tray grow back?
No. The growing point is removed at harvest, so the tray is done. Compost the root mat and sow a fresh tray every 7 to 10 days for a steady supply.
Final Thoughts
Sunflower microgreens ask for a bit more handling than most crops: a soak, a weighted tray, and a daily brush with your hand. In return you get the thickest, crunchiest shoot in the microgreen lineup, from seed that costs pennies a tray. Learn the weighted blackout once and every tray after it feels routine. Start with one small tray, weigh your seed, and cut on time.
Sources and Further Reading
- Utah State University Extension, “Grow Your Own Microgreens.” The 12 hour soak, the 48 gram rate, the weighted cover method, and the 9 to 10 day harvest.
- Penn State Extension, “A Step-by-Step Guide for Growing Microgreens at Home.” The general tray method, untreated seed, and hygiene this guide builds on.
- Bootstrap Farmer, “The Ultimate Microgreen Cheat Sheet.” Sunflower at 150 grams per tray, stacked blackout, and the bitter true leaf warning.
- True Leaf Market, black oil sunflower microgreen seed listing. Seed choice and the shorter 3 to 6 hour supplier soak.
- Organo Republic, sunflower growing guide. The 8 to 12 hour soak band, the weighted blackout, and harvest at 3 to 4 inches.
- On The Grow, sunflower step by step guide. Grower practice: about 125 grams per tray, a heavy paver, reported yields, and the no-soak trial notes.
- Microgreens and Sprouts, sunflower home growing guide. Hull removal in practice, blackout detail, and fridge storage life.


2 Comments